How to have Privacy on your Computer (Kicksecure 18 Host OS)
TLDR: You don't have privacy on Windows / MacOS, that's why you need Linux as a Host OS. (and in this case we go for Kicksecure because we need it for the deniability section of The OPSEC Bible).

In this tutorial, we're going to look at the first and foremost thing anyone can do to remove surveillance from their digital lives, by installing a free and open source software (FOSS) host operating system: Linux, in this case we're going to set up the latest Kicksecure host OS, since it is a secure-by-default Linux distribution.
OPSEC Recommendations:
- Hardware: (Personal Computer / Laptop)
I recommend using this setup on your main PC, laptop, but also as a home server or a remote server. For Privacy use, and potentially Anonymous use if you implement the correct technology for it later on, as per the 4 basic OPSEC levels.
Why should Bob install Linux?
So here we are Bob, and we have decided that having an entire crowd watching what we were doing without computer was no longer acceptable. What can we do from here?
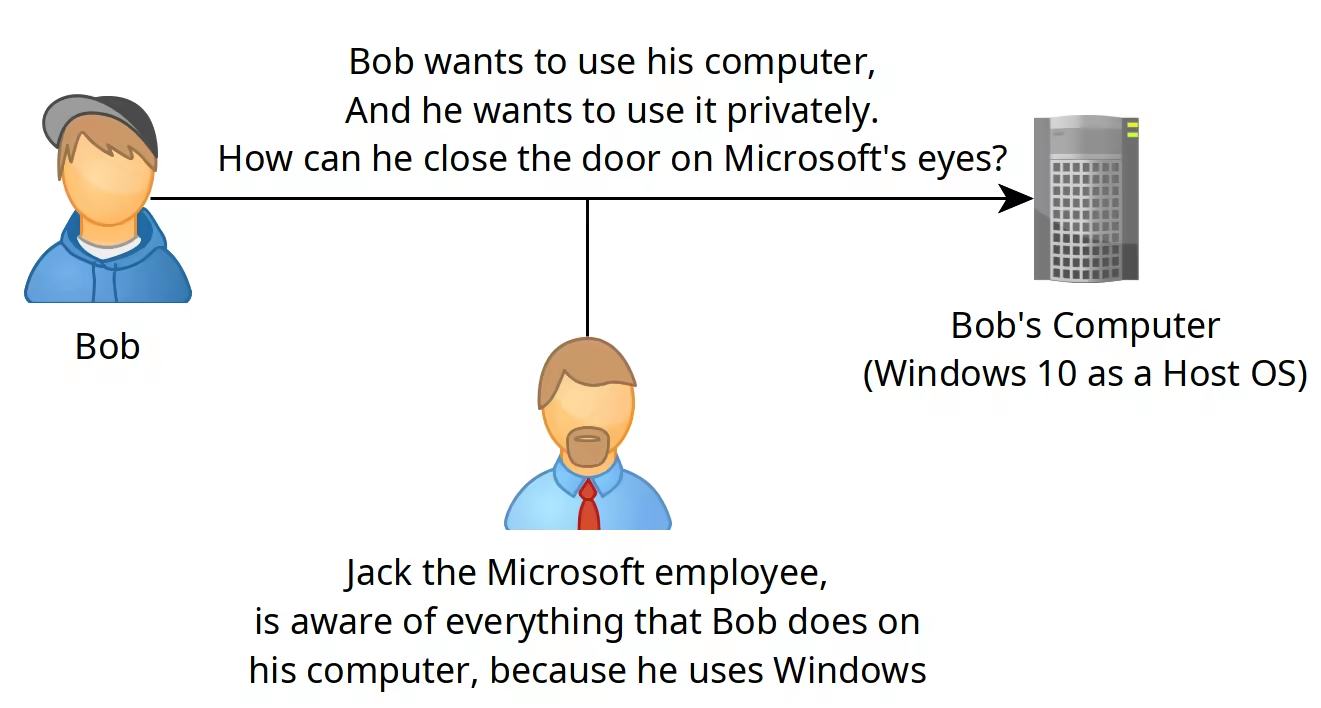
Bob, after searching for a while on the web, Bob realized that Windows was the problem here. Because it is closed-source (meaning the source code is not available) he couldn't know what Windows was doing in the background. Because that is so, Bob is now certain that his Operating System could be used for surveillance, without him being aware of it.
"What the hell can I do on Windows privately then?", Bob thought for a while.

"... Nothing!", He realized. While he was using windows, he would never have any privacy with his digital life.
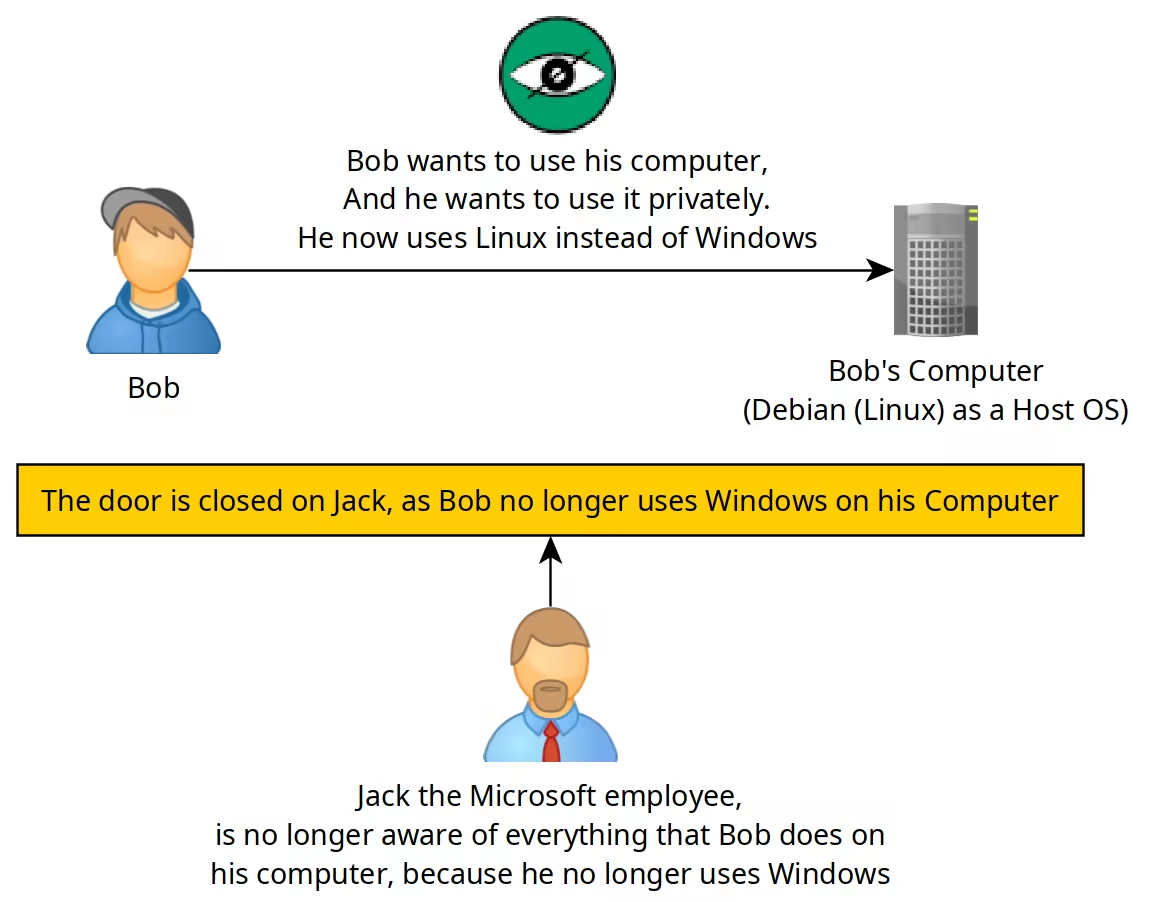
Allegory: You have a house, and you have an annoying neighbor (Jack) that wants to know everything you do in your House. If you have windows installed on your computer as a host OS, it is the same as leaving the front door wide open for Jack to enter and watch what you're doing in your house, no matter how much you try to barricade the windows, or the doors. It makes more sense to try and barricade the front door first, before trying to barricade the windows and other rooms in your house, isn't it?
So Bob looked for an open source operating system to replace Windows, and he found the Linux source code, he read the entire code and found no spyware in it. Then he decided that he would use that instead of using Windows.

Because it is through Windows, that Microsoft employees are able to spy on what Bob was doing so far! By removing windows from the equation, he is also removing Microsoft's surveillance from his digital life!
Bob has decided that he would use Linux from now on, because he is no longer tolerating being watched by an entire crowd, without his consent.
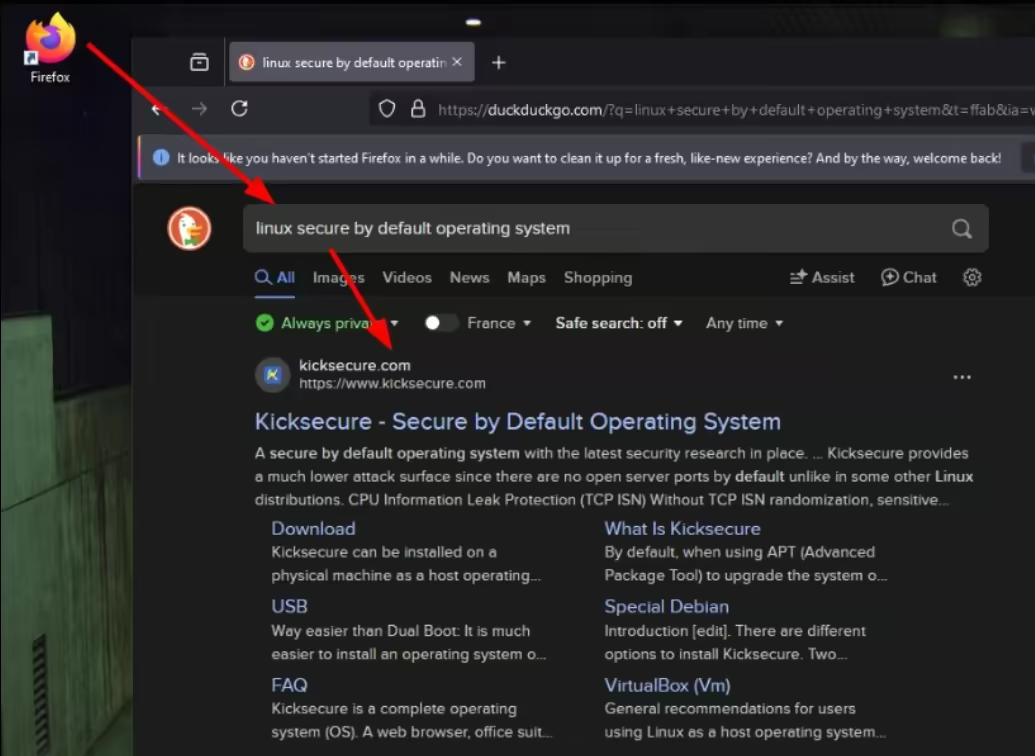
How to create a Linux USB installer from Windows?
First step is to go on the web to find a secure Linux distribution such as Kicksecure:
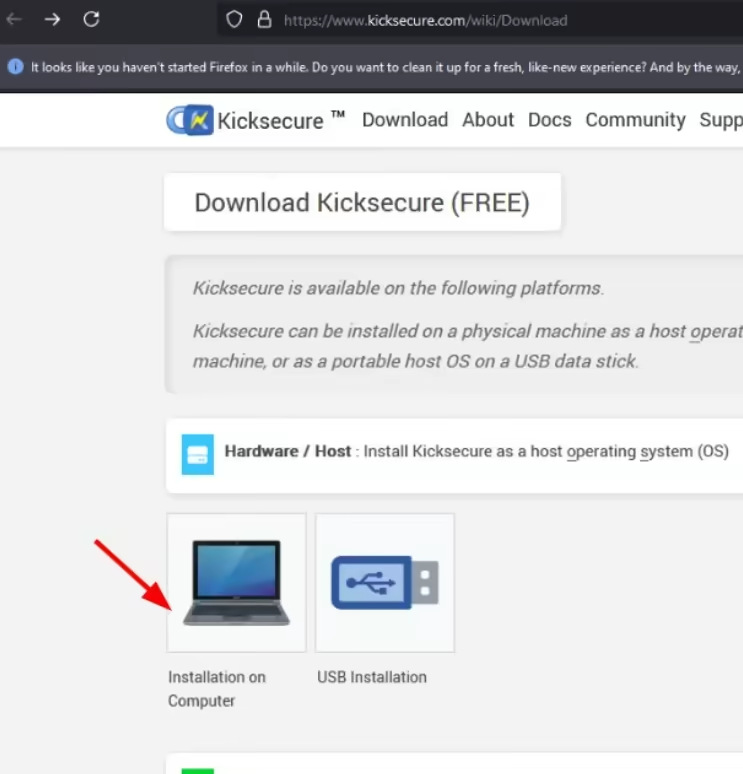
So we're going to install Kicksecure. (Disclaimer: if you use closed-source hardware, like 99.9999999999% of people out there, you will invariably have to use non-free firmware too [1] [2] [3]). If you want a purely FOSS host OS, and you are willing to not have firmware for your CPU, GPU, Motherboard, Ethernet/Wi-Fi, check out the OSes recommended by the Free Software Foundation [4] (but it will be at the expense of having your peripherals not working [5]). The status of open source Hardware is not even competitive in this closed-source hardware domination of the market., hopefully this will change in the future, but for now that's how it is.
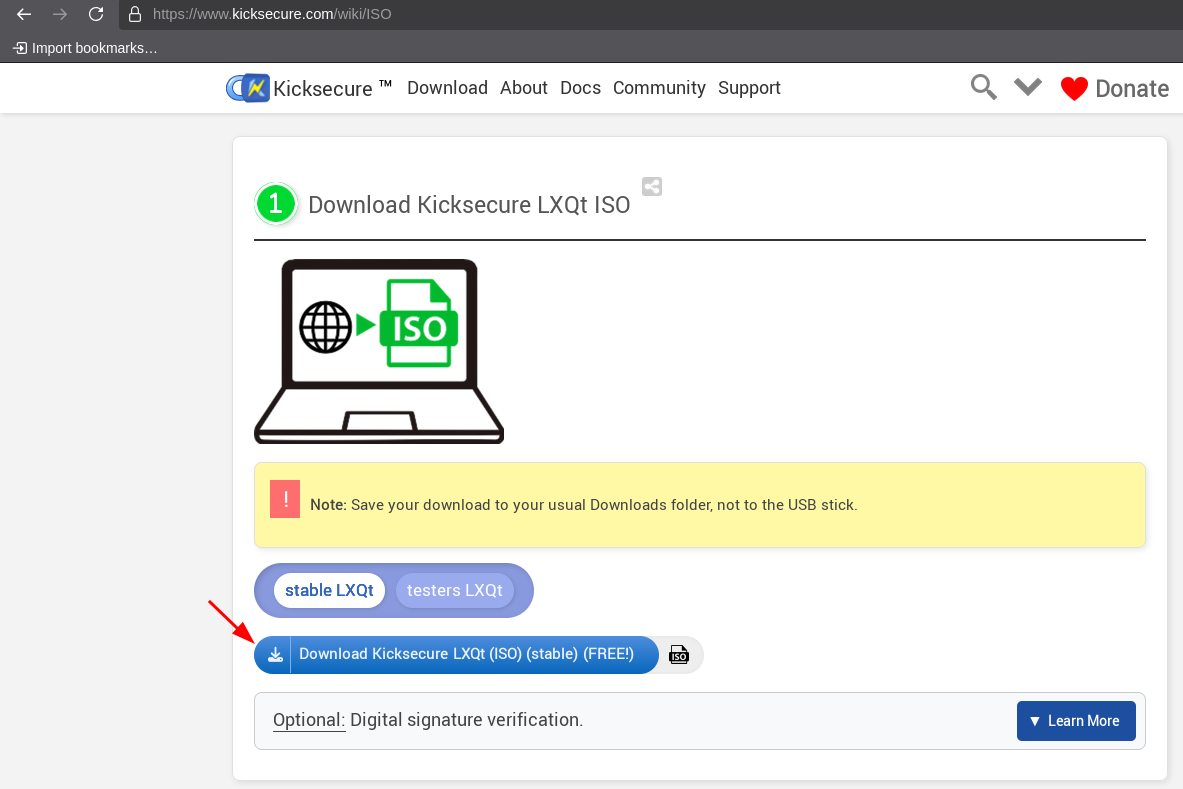
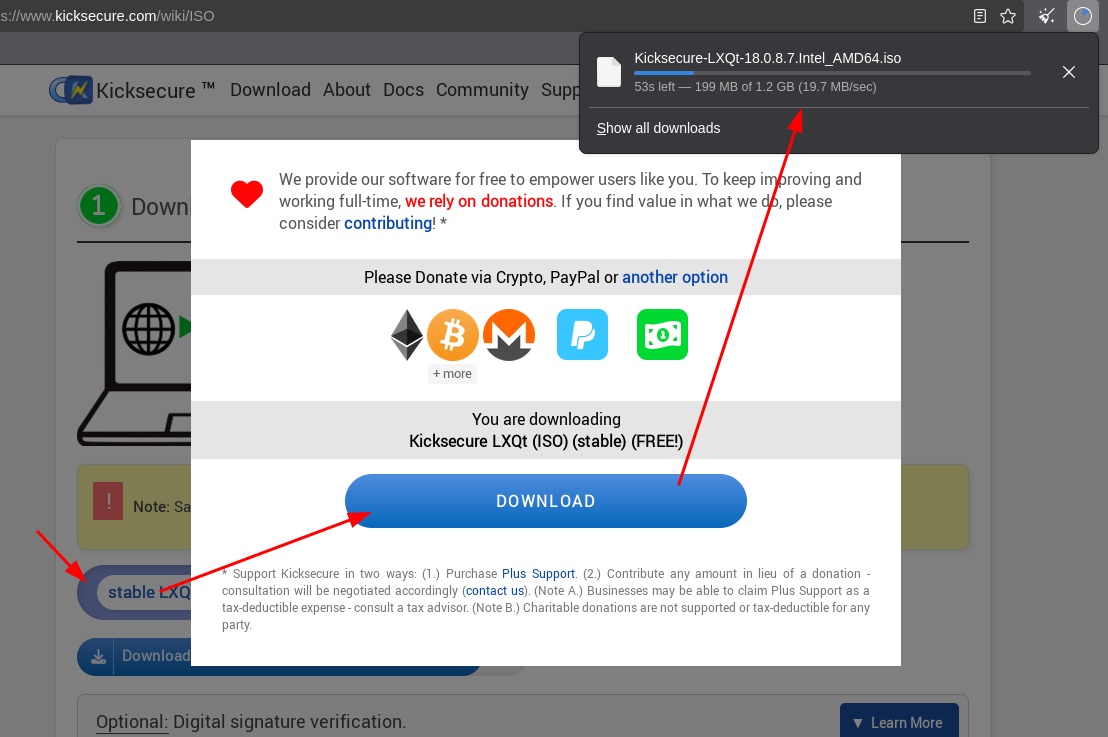
Let it download and then we have the Kicksecure ISO image.
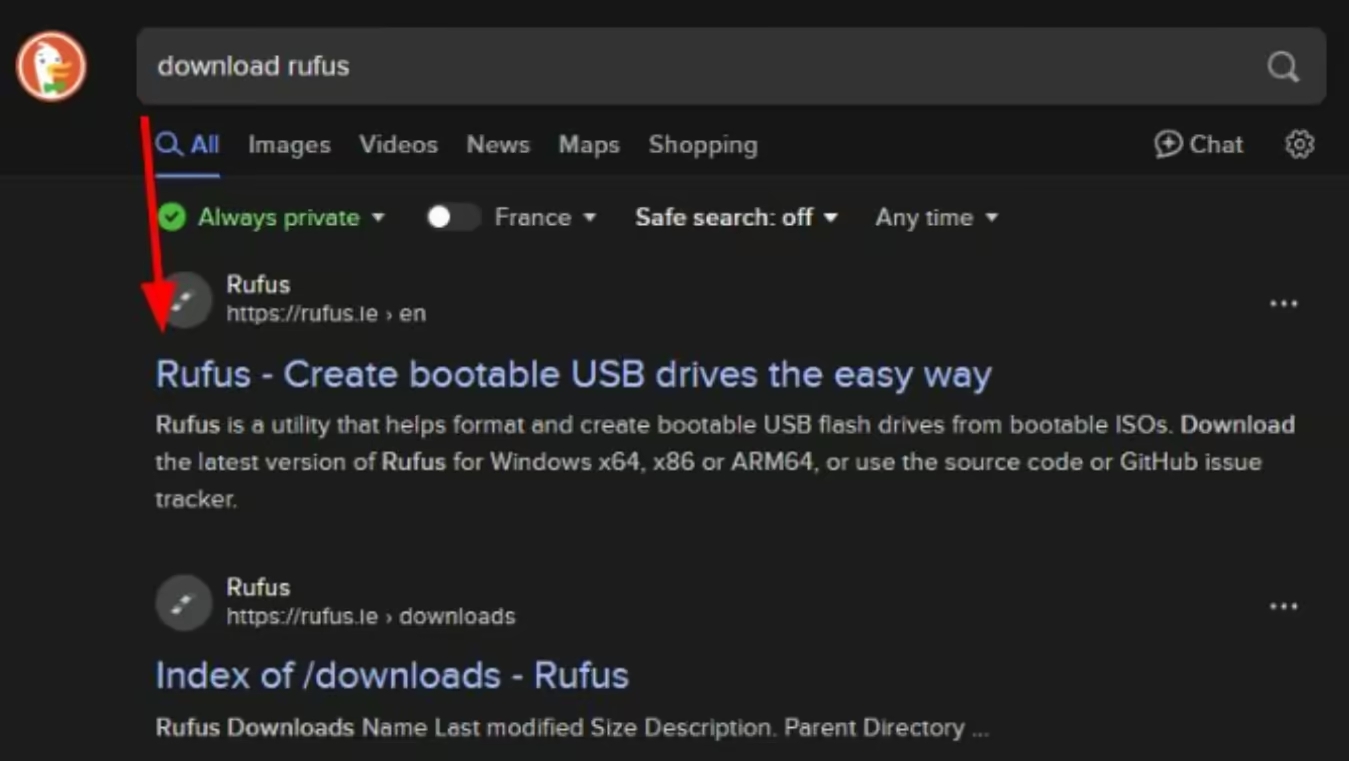
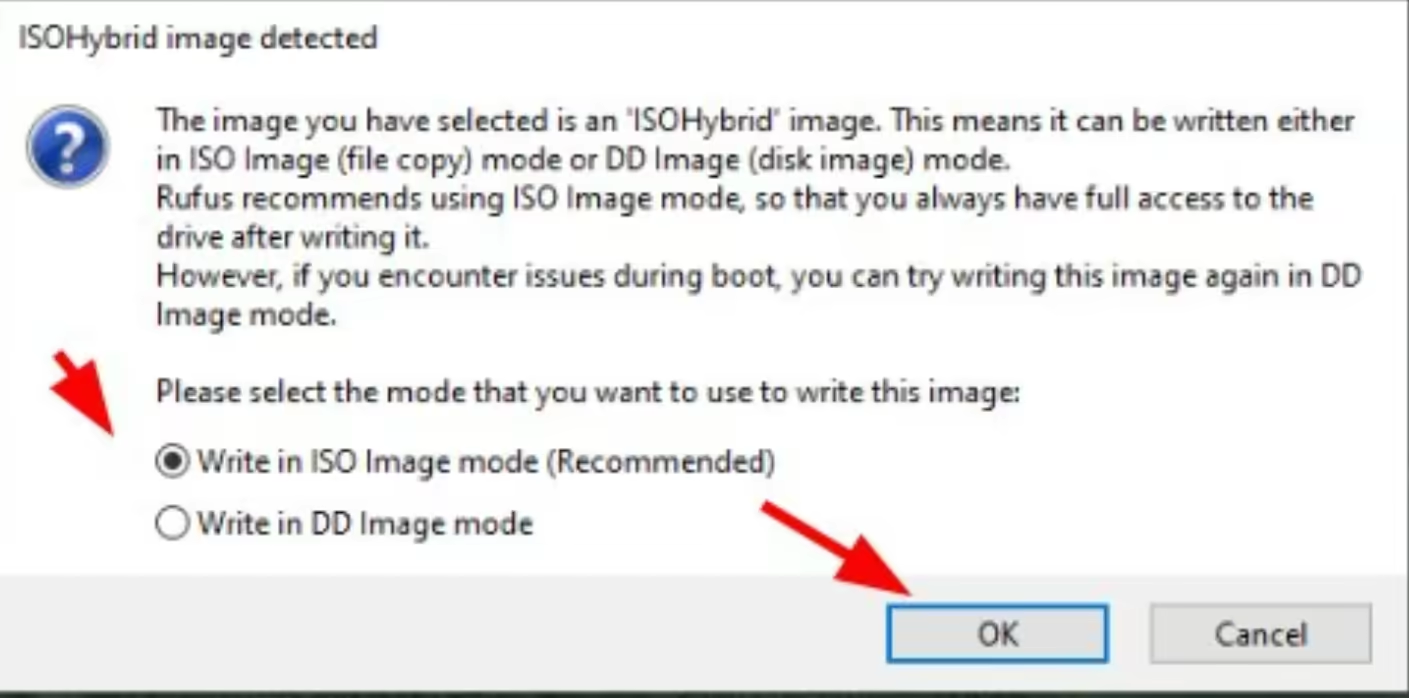
But now we need to put that ISO image on a USB stick. To do so we can use Rufus:
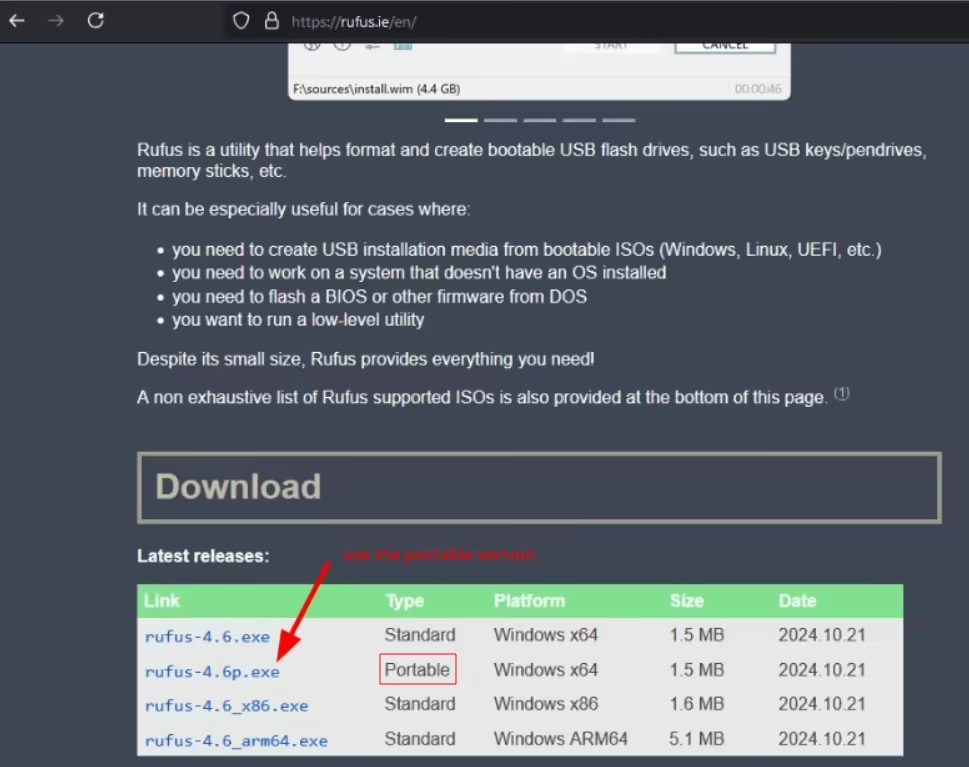
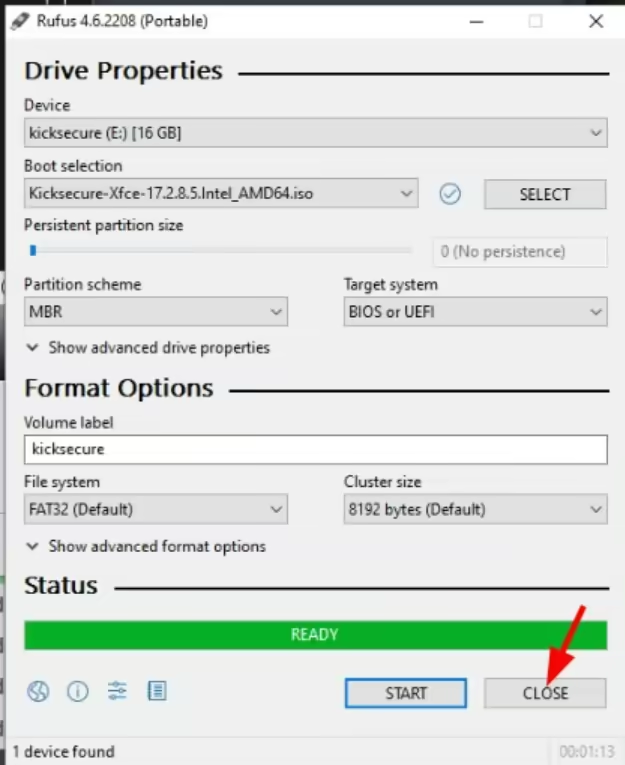
next we install Rufus and plug in a USB stick in the computer (Warning: the USB stick should be at least 2 GB big) :

And once the Kicksecure ISO image finishes downloading, we use it from inside Rufus by clicking the "select" button:
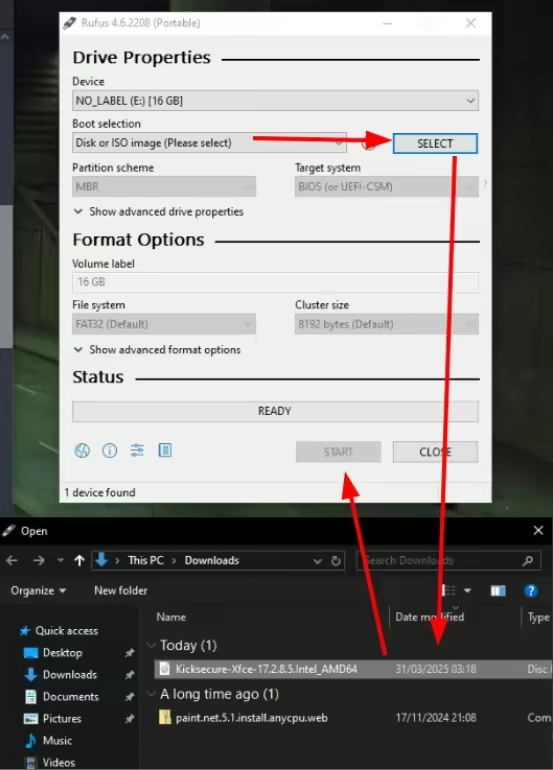
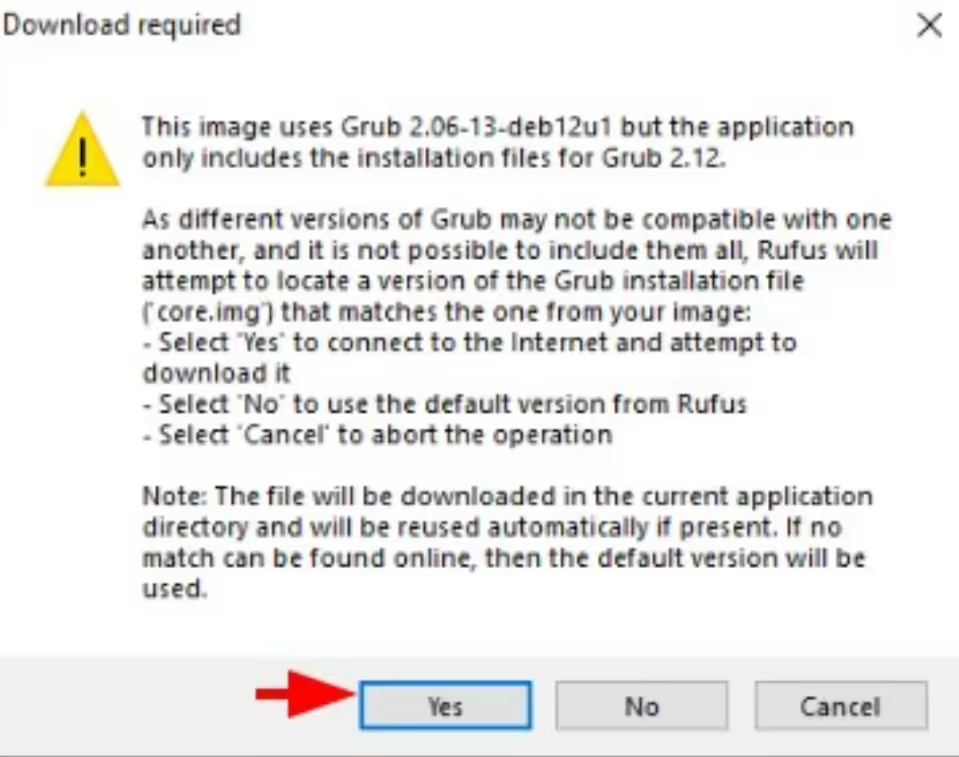
And lastly we click "start" to
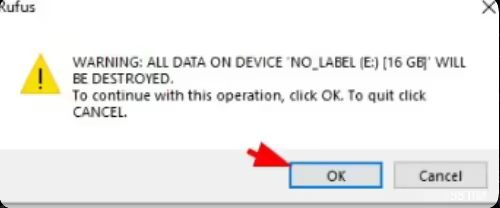
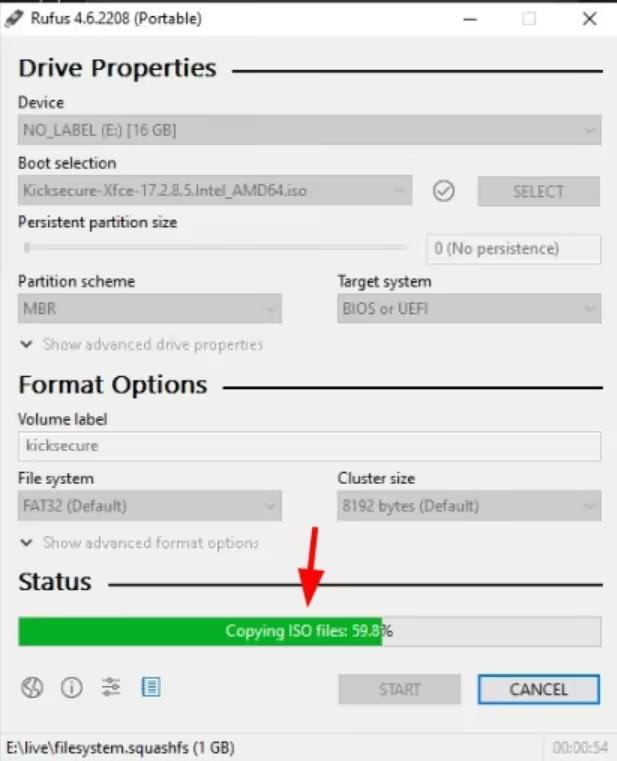
Then we wait a few minutes, and now we have a USB stick with the latest Kicksecure OS on it:
And now we will be able to use it to install Linux and replace Windows with it.
How to use the Kicksecure USB stick to overwrite Windows?
This is where it gets a bit technical for Bob. But here are the steps he needs to do:
-
He needs to plug his USB stick in his computer
-
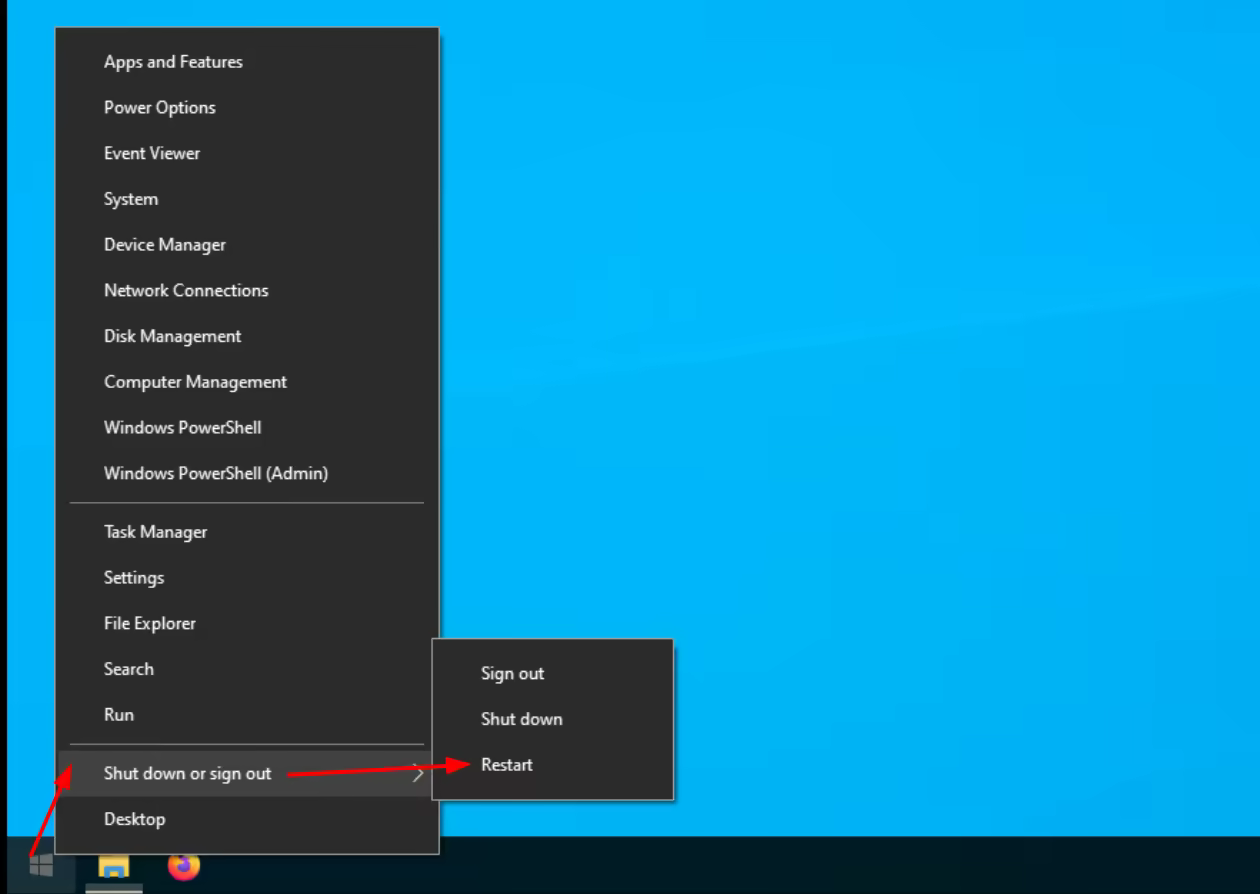
He needs to restart his computer
-
As his computer restarts, he needs to repeatedly press the F1 or F2 or DEL or F10 key in order to enter his computer's BIOS (depending on which brand his computer is)
-
Once he is in the BIOS, he then needs to boot on his USB stick that has the Kicksecure image
-
Then, once he boots on his USB stick, he can install Kicksecure on his computer
The key that we need to press to enter his computer's BIOS depends on what brand his computer is (see this blog post for examples).
Now Bob restarts his computer:
And now, as he has an ASUS motherboard, he repeatedly presses the F2 key to enter his computer's BIOS:
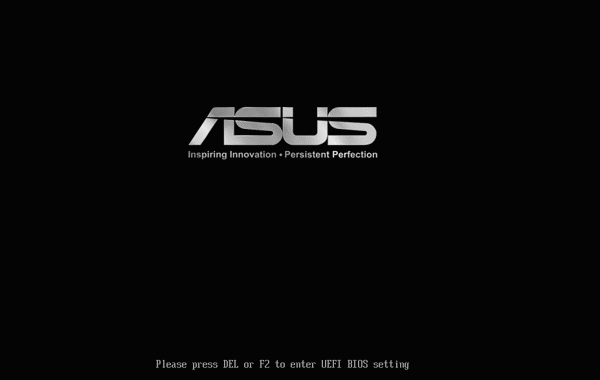
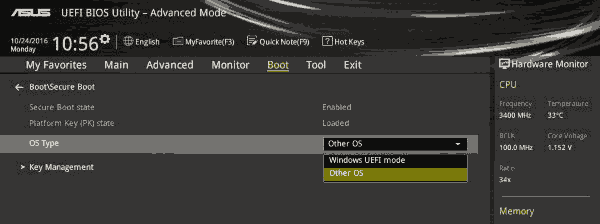
And from there, Bob needs to navigate the BIOS to boot on his USB key. Be aware that the Steps may vary, feel free to research how to change the boot options of your computer's BIOS settings. In Bob's example below, he is on an ASUS computer/motherboard, so he has these specific BIOS steps to take:
Boot > OS Type > Other OS
Boot > CSM settings > Launch CSM Auto
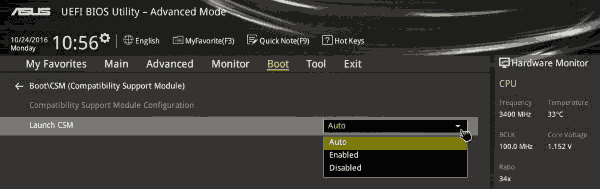
Boot device Selection > his USB stick
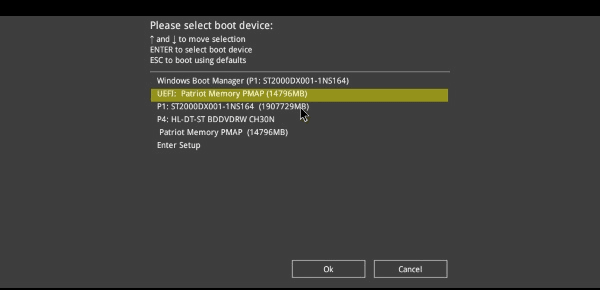
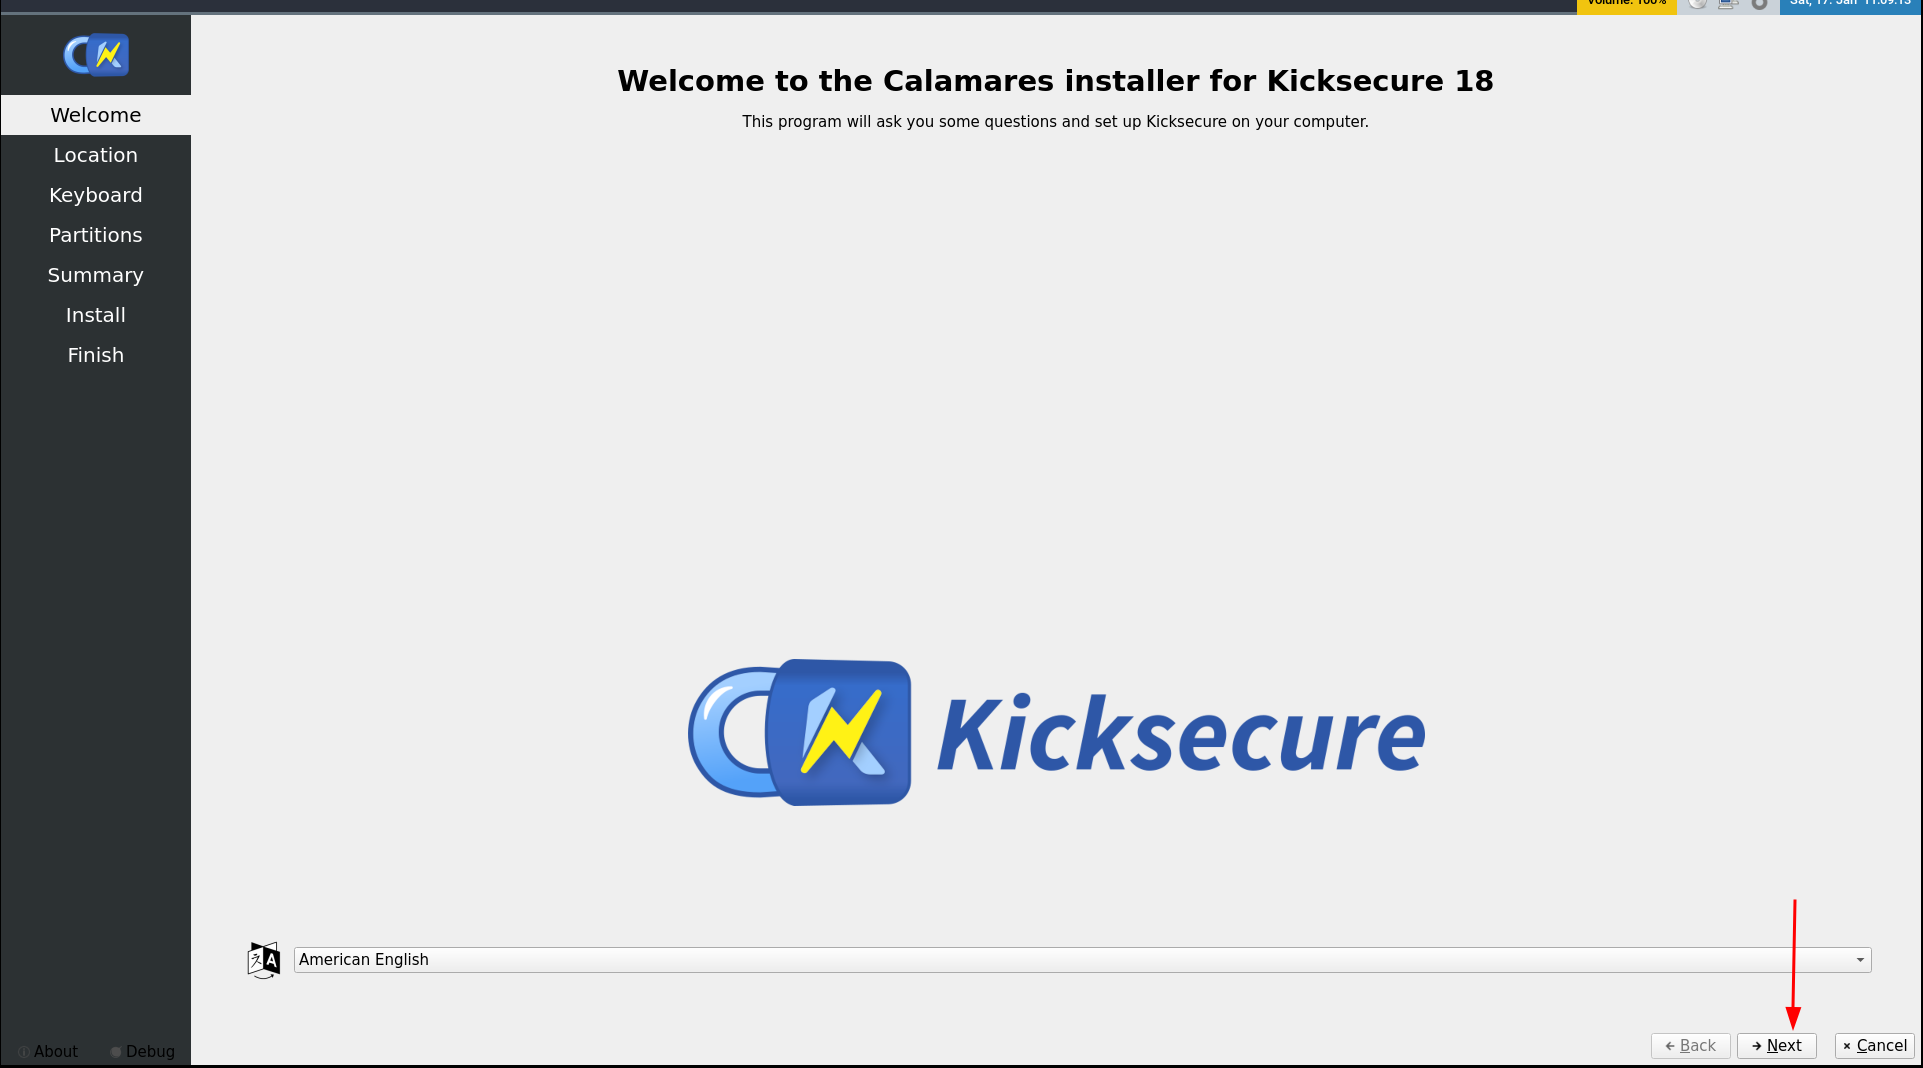
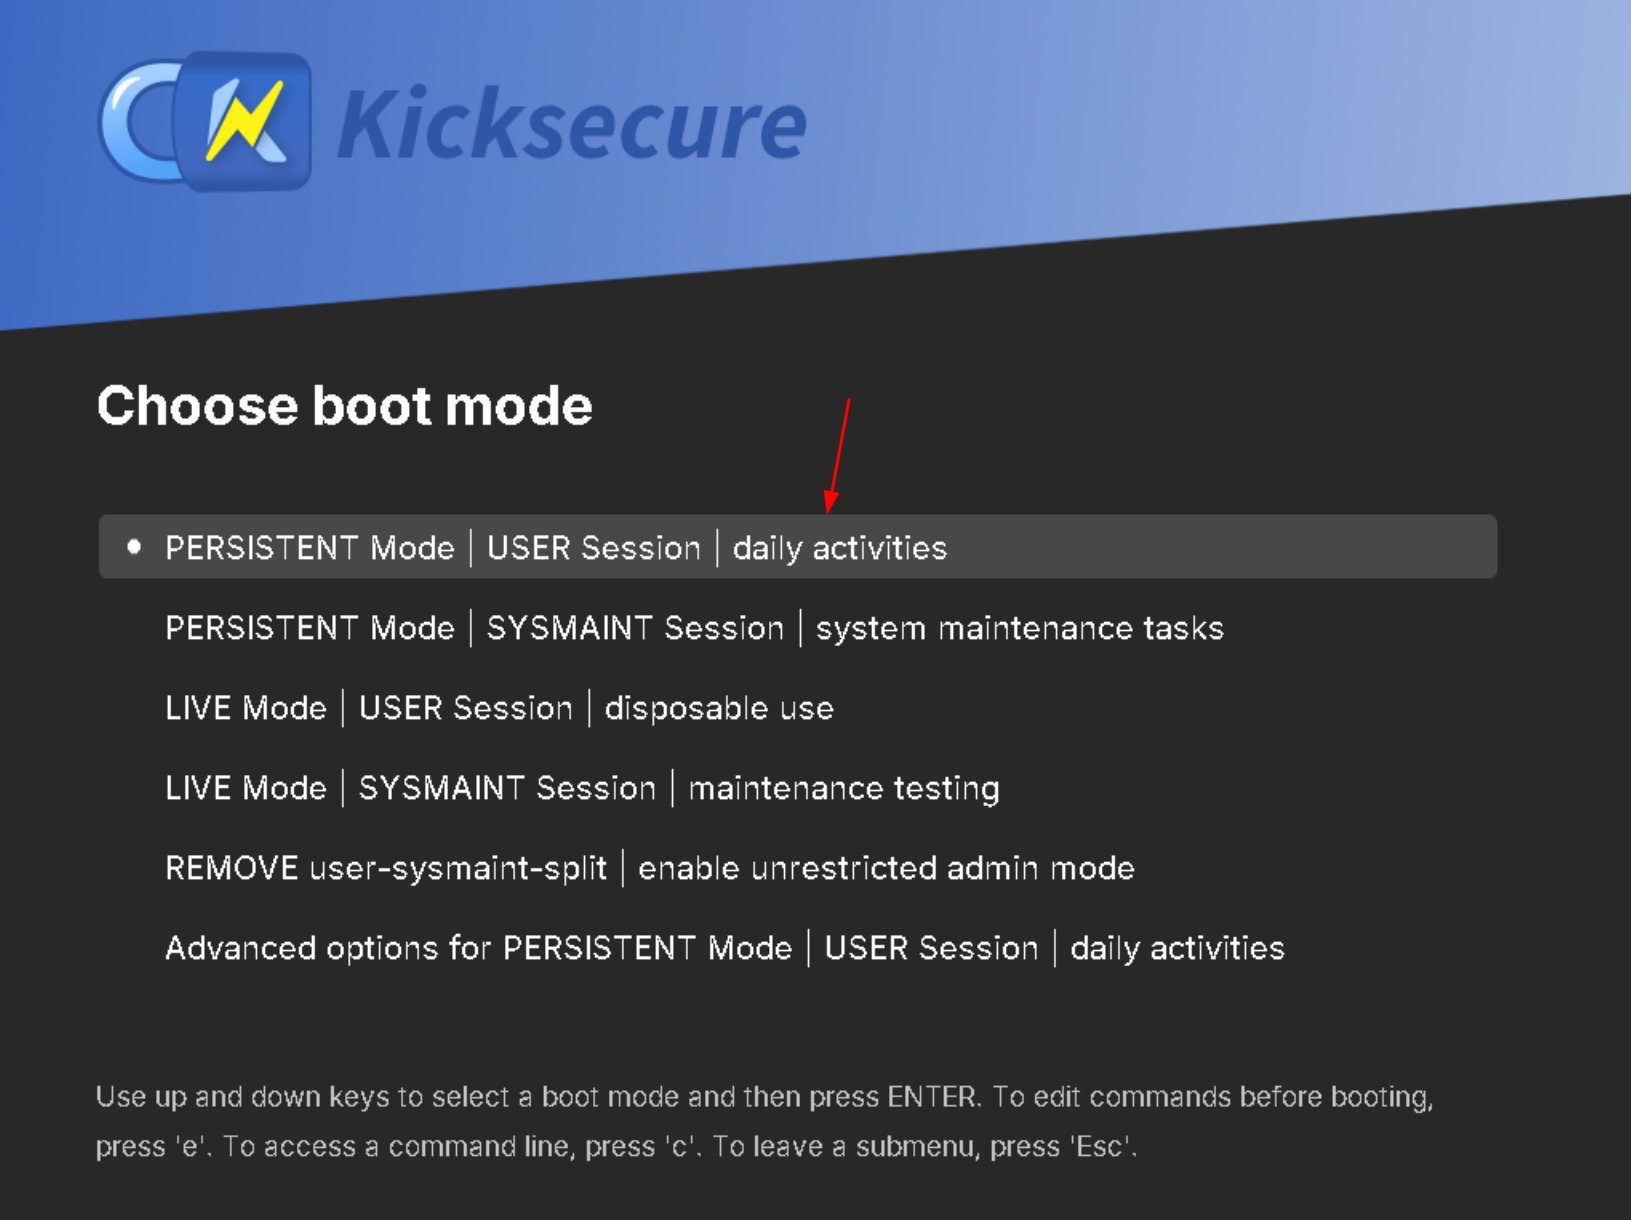
Once we select his USB Stick, Bob can now boot from it, and he is greeted by Kicksecure's welcome screen:

And from there, Bob installs Linux as per his needs:


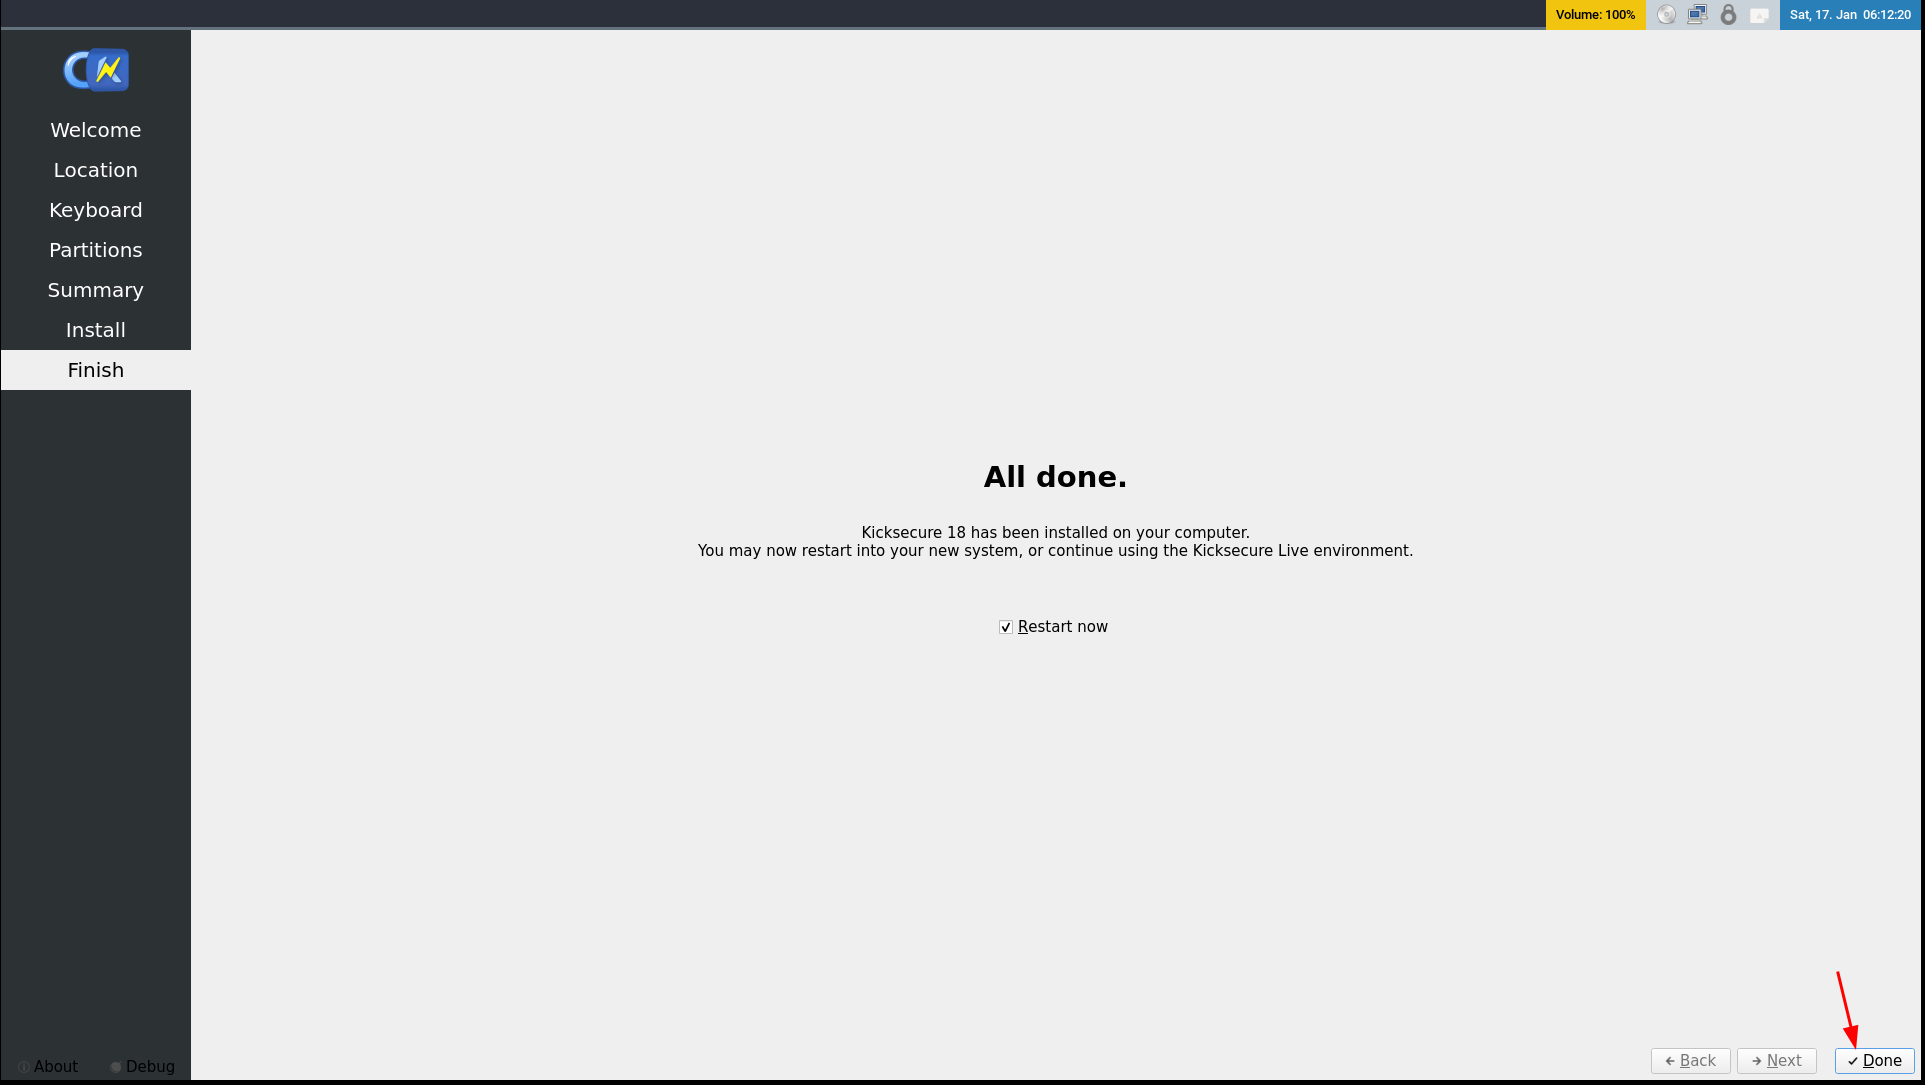
And there, we finished the Kicksecure installation, we can unplug the USB stick, and click done to reboot the computer, into the newly installed Kicksecure Host OS:
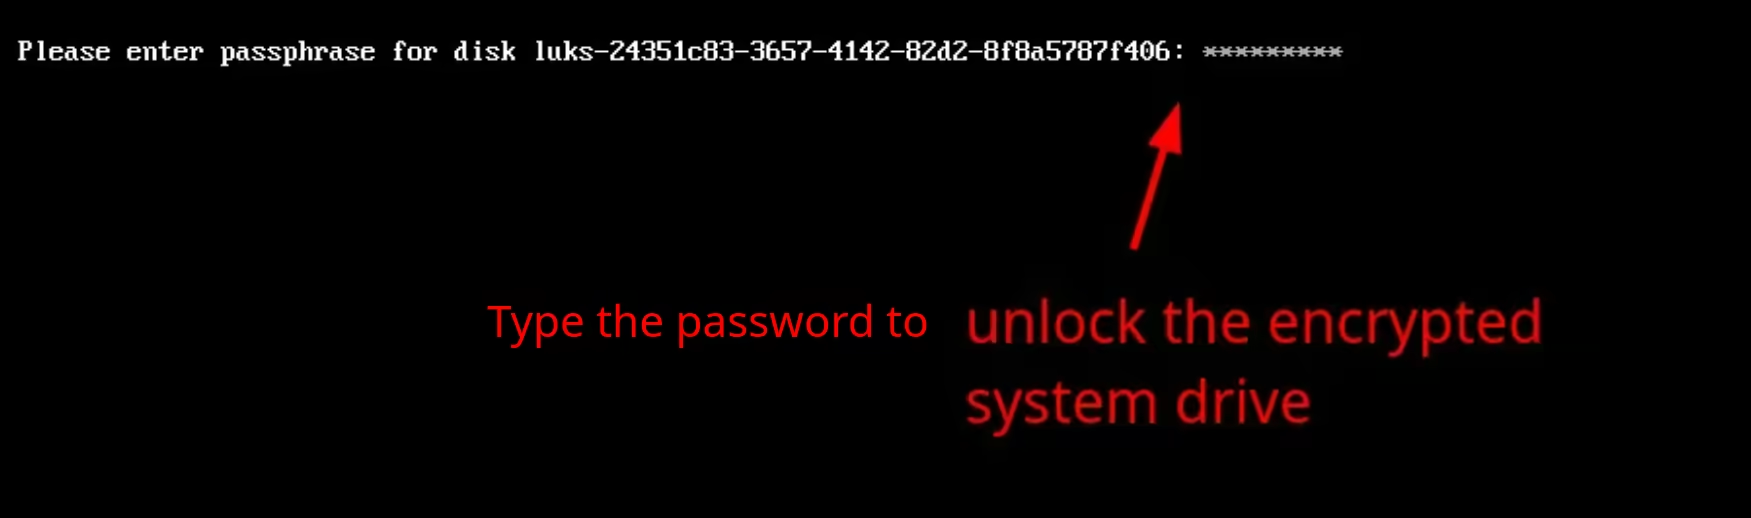
As we reboot the computer, we're greeted by the Kicksecure boot screen, and then we type the password to unlock the encrypted system drive:
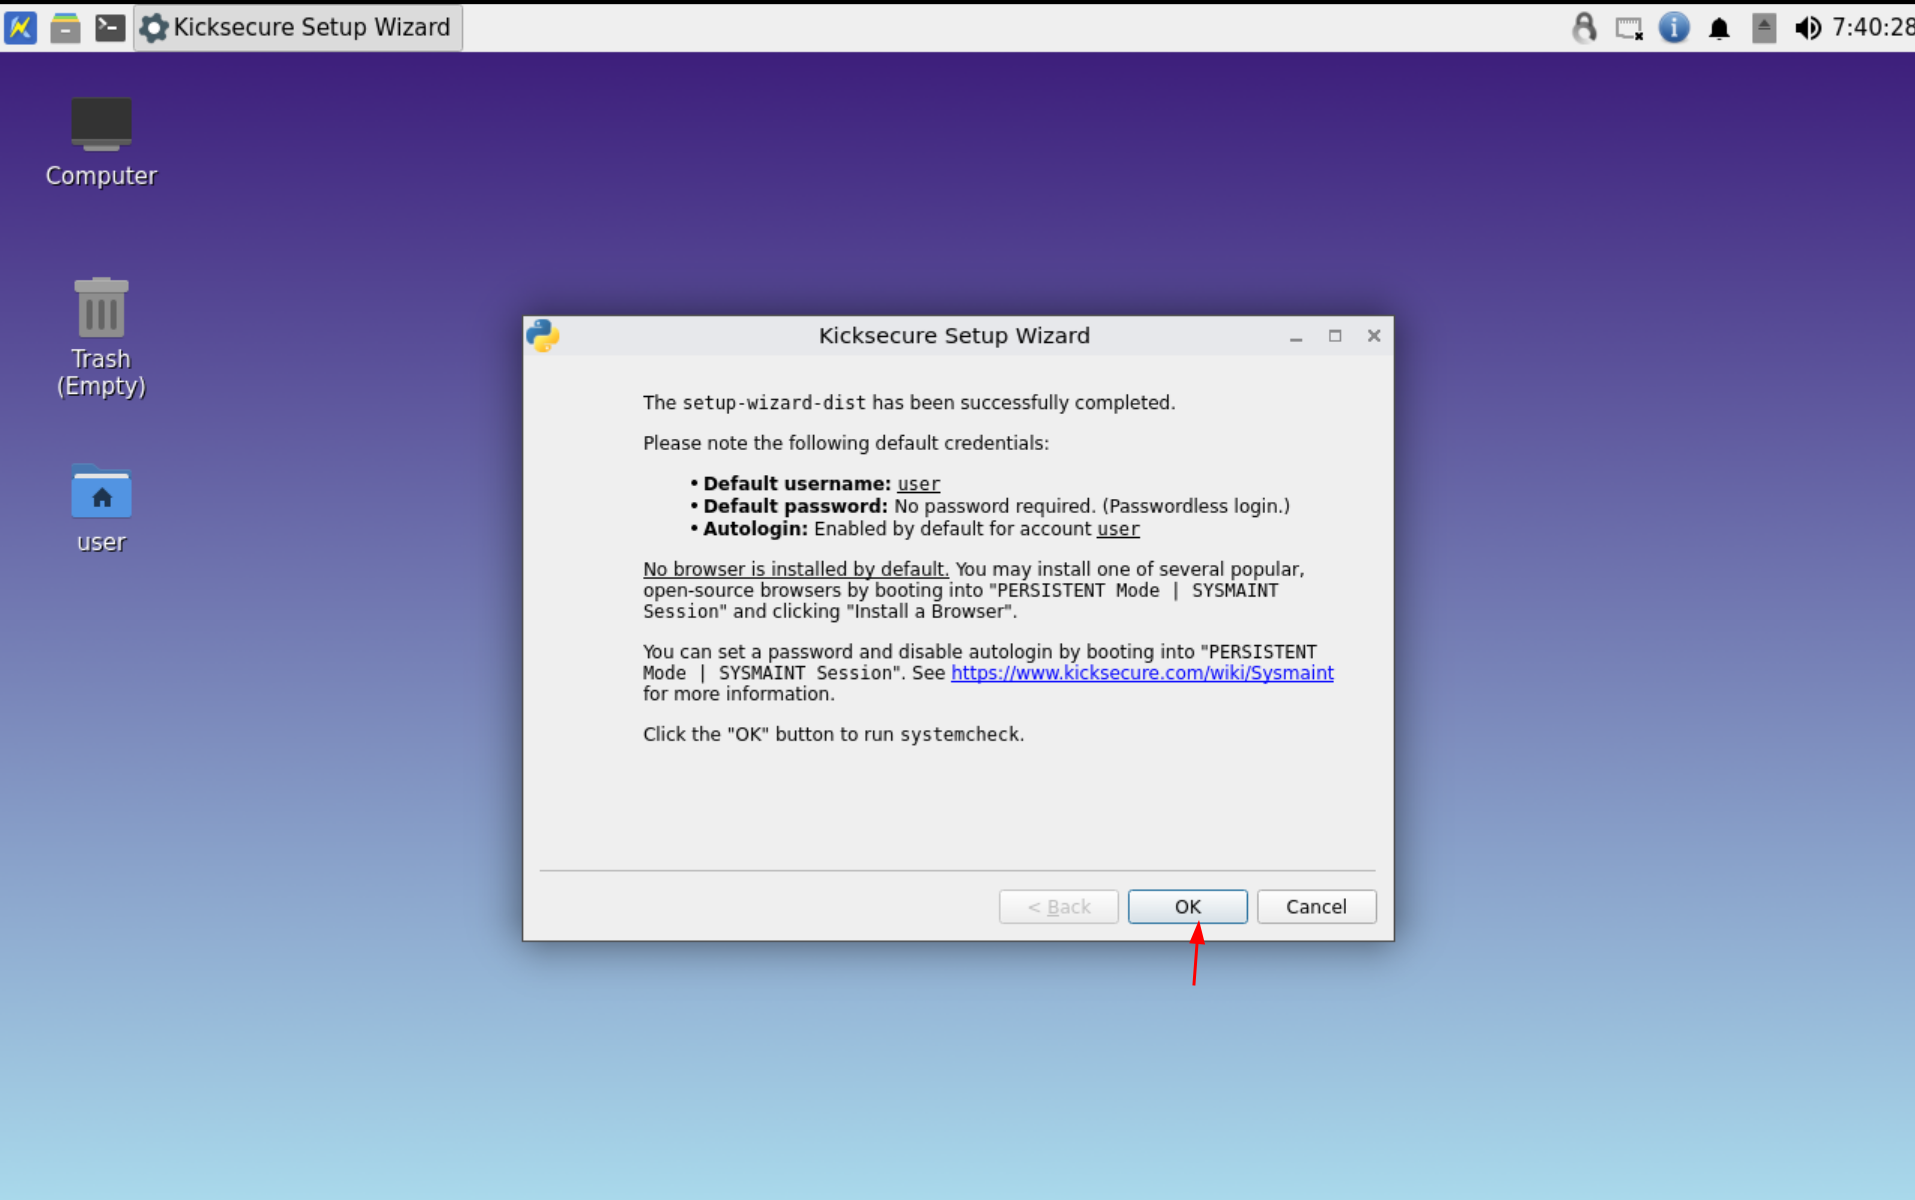
And now that we are logged in, we're in our brand new Kicksecure 18 operating system, with the LXQT Wayland window manager, You now have a secure-by-default Linux host OS, and now it's all open source! This means that you no longer have Windows's countless cameras spying on what you were doing. You now have privacy on your computer.
SIDENOTE: Kicksecure no longer cares about it's Nvidia users because their recent choice of going for Wayland (without anyone's approval from the community) is causing sudden random logouts, installing the proprietary Nvidia driver is not documented and leads to a black screen. They consider that you should use Nvidia cards for Kicksecure without GPU acceleration by doing the following workaround which leads to an almost unusable desktop experience.
TLDR: don't bother trying to use Kicksecure 18 with an NVIDIA GPU because the Kicksecure devs don't care about it, pick an AMD GPU and use Kicksecure 18 with it to avoid these issues.
And that's it! Bob has managed to get privacy from Microsoft's constant surveillance by replacing Windows with a Linux distribution.
Kicksecure's Limitations
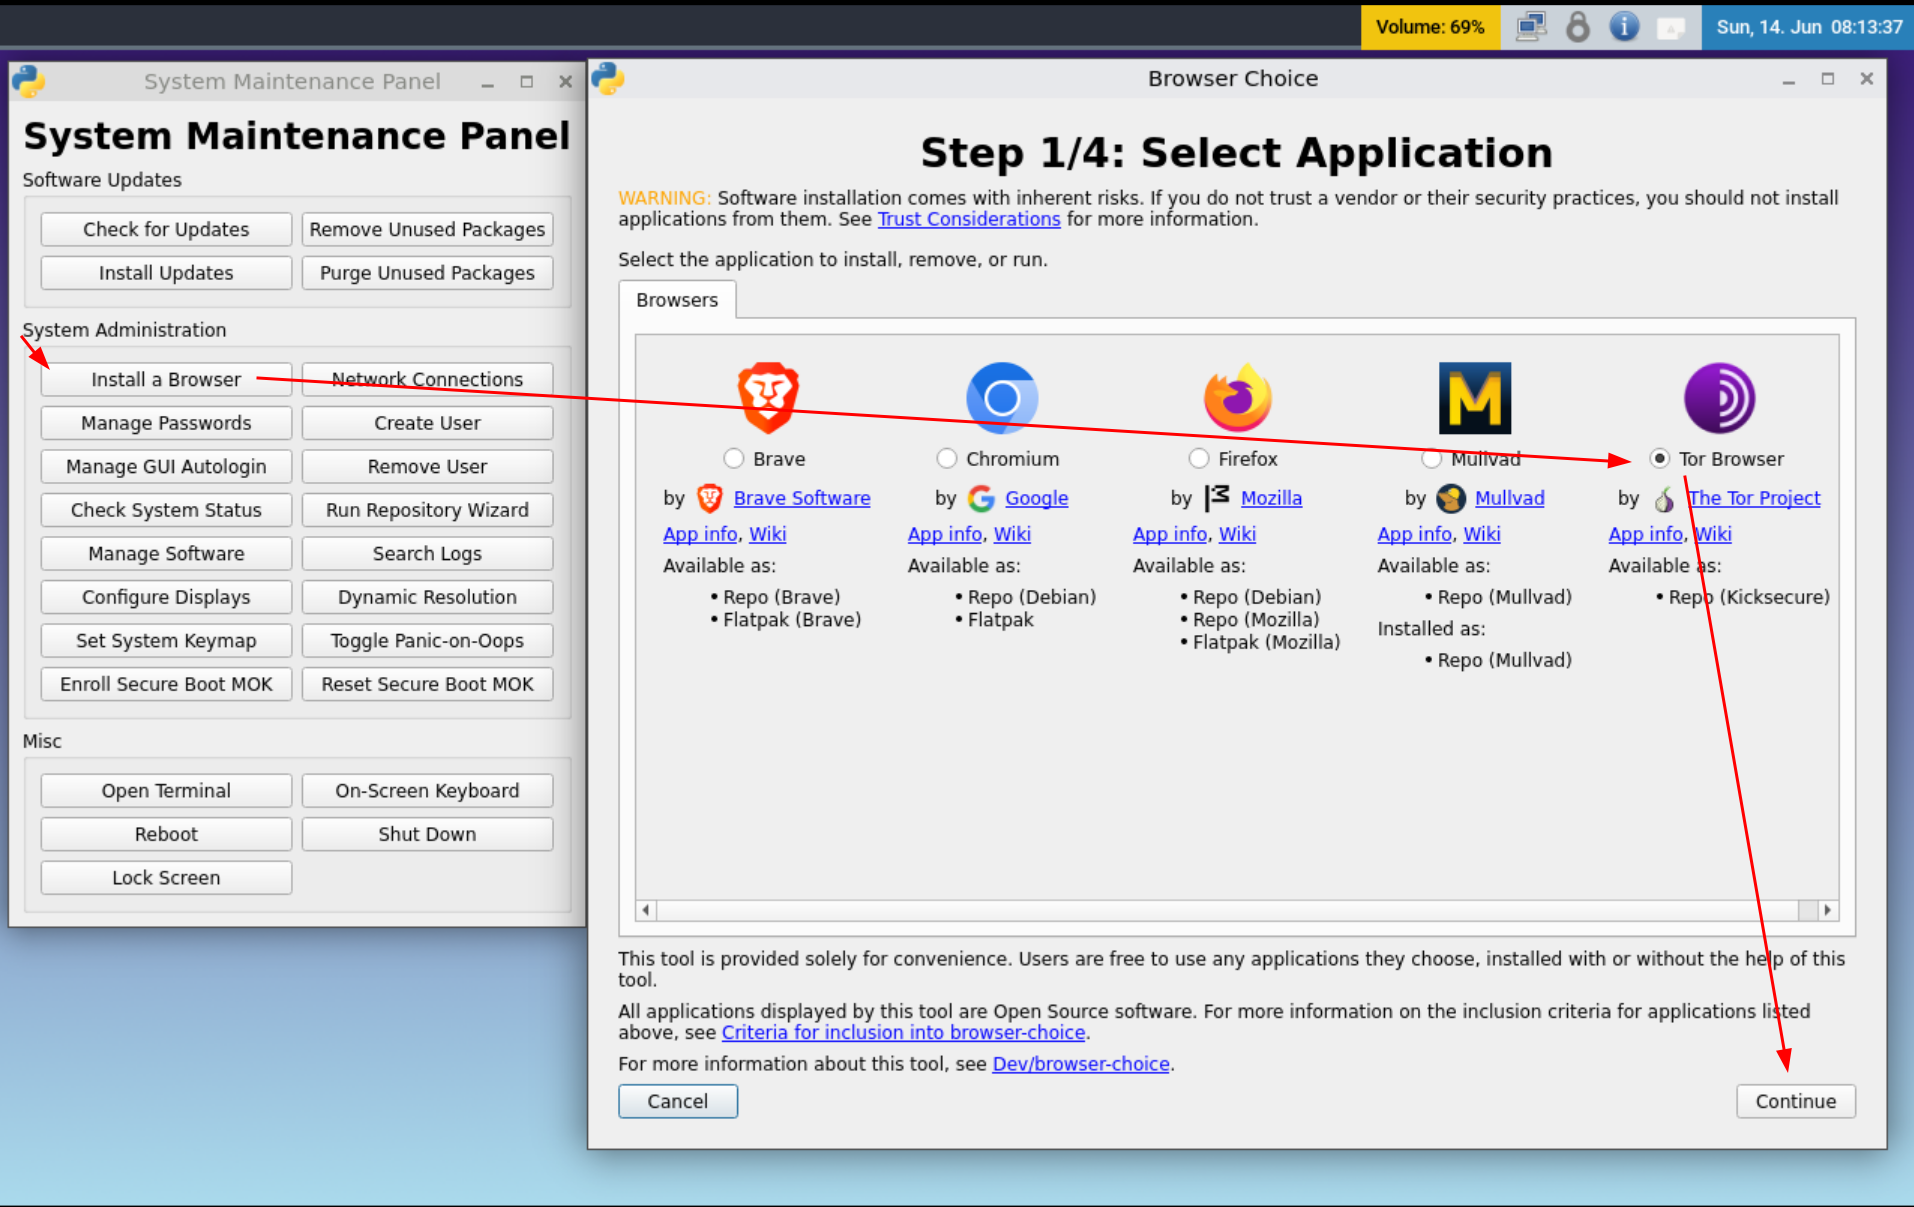
First of all, as we need deniable encryption, we're going to need to use VeraCrypt for our deniability tutorials, but given that Kicksecure devs prefer to have their split user-sysmaint user sessions rather than having a functional VeraCrypt Workflow we're going to need to do a few things before we can start using Kicksecure, including also installing the web browsers before removing the user-sysmaint split (because otherwise we can't currently install them).
Installing the web browsers
Let's first start by rebooting into the sysmaint session to install the web browsers:
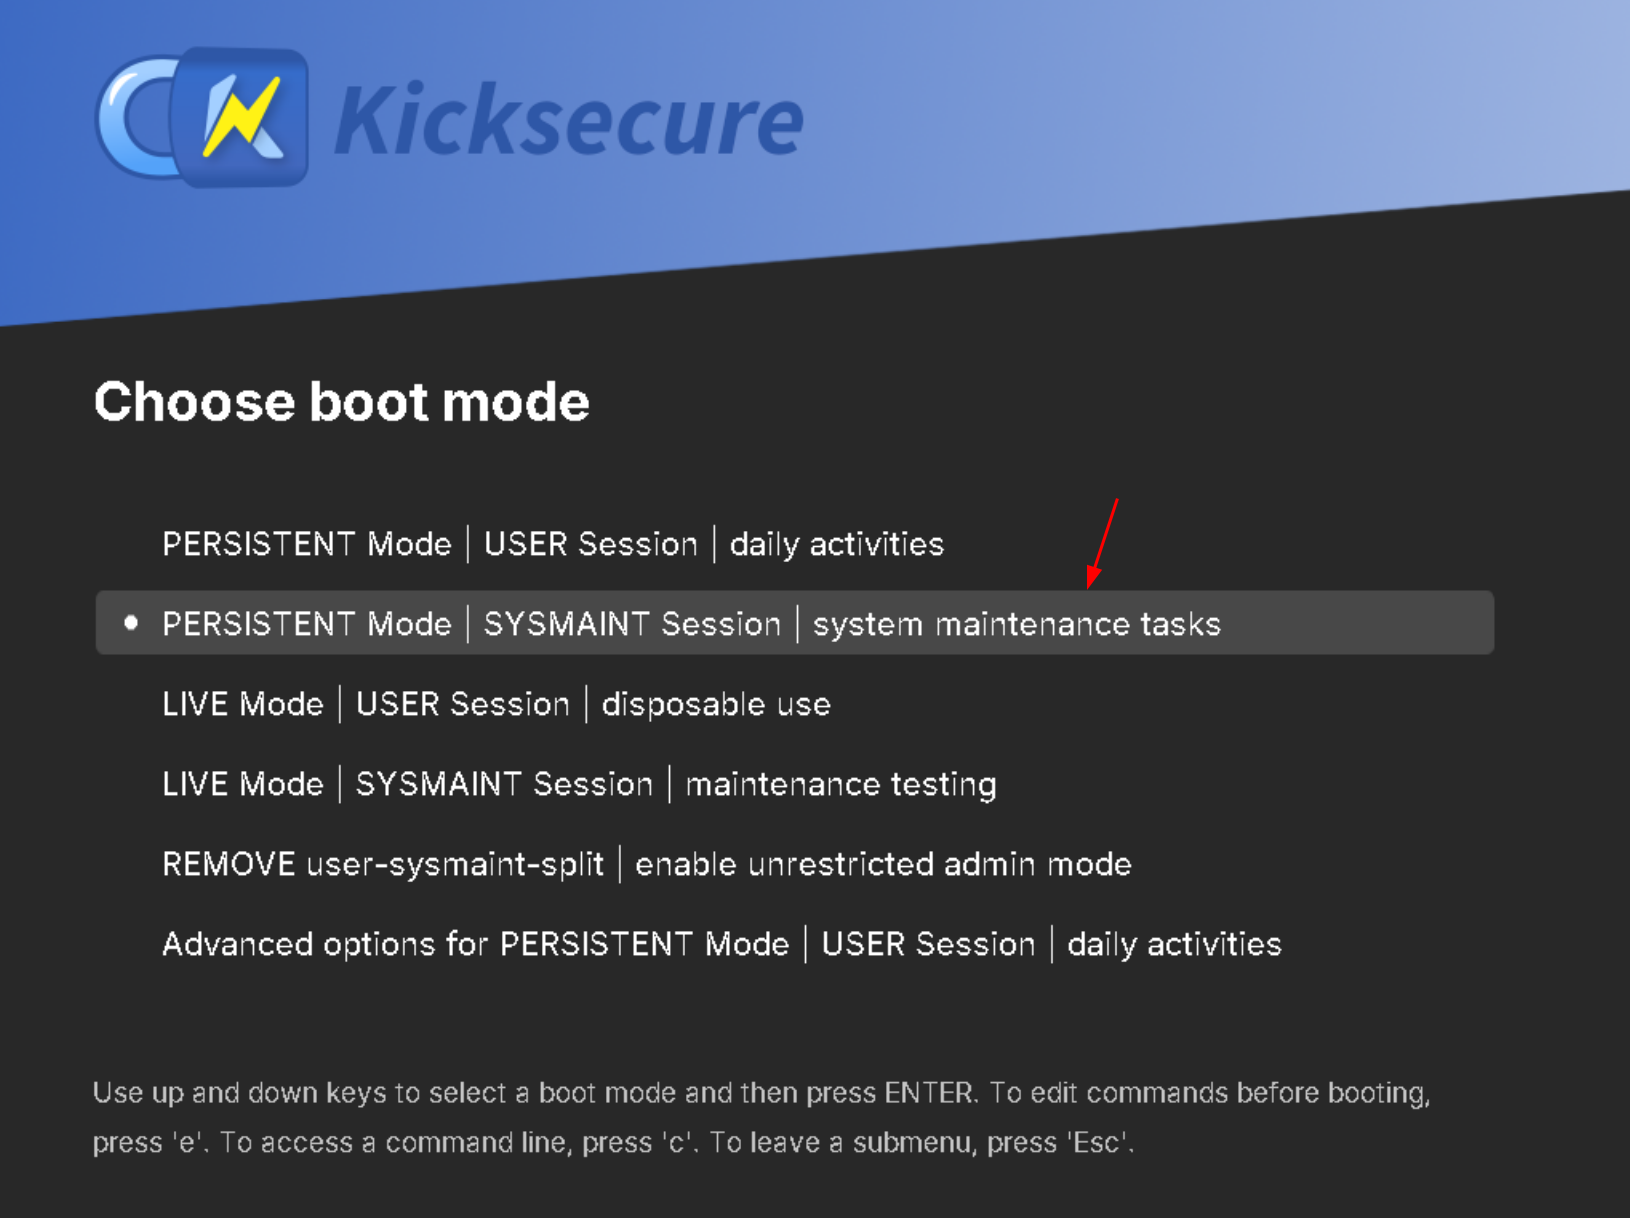
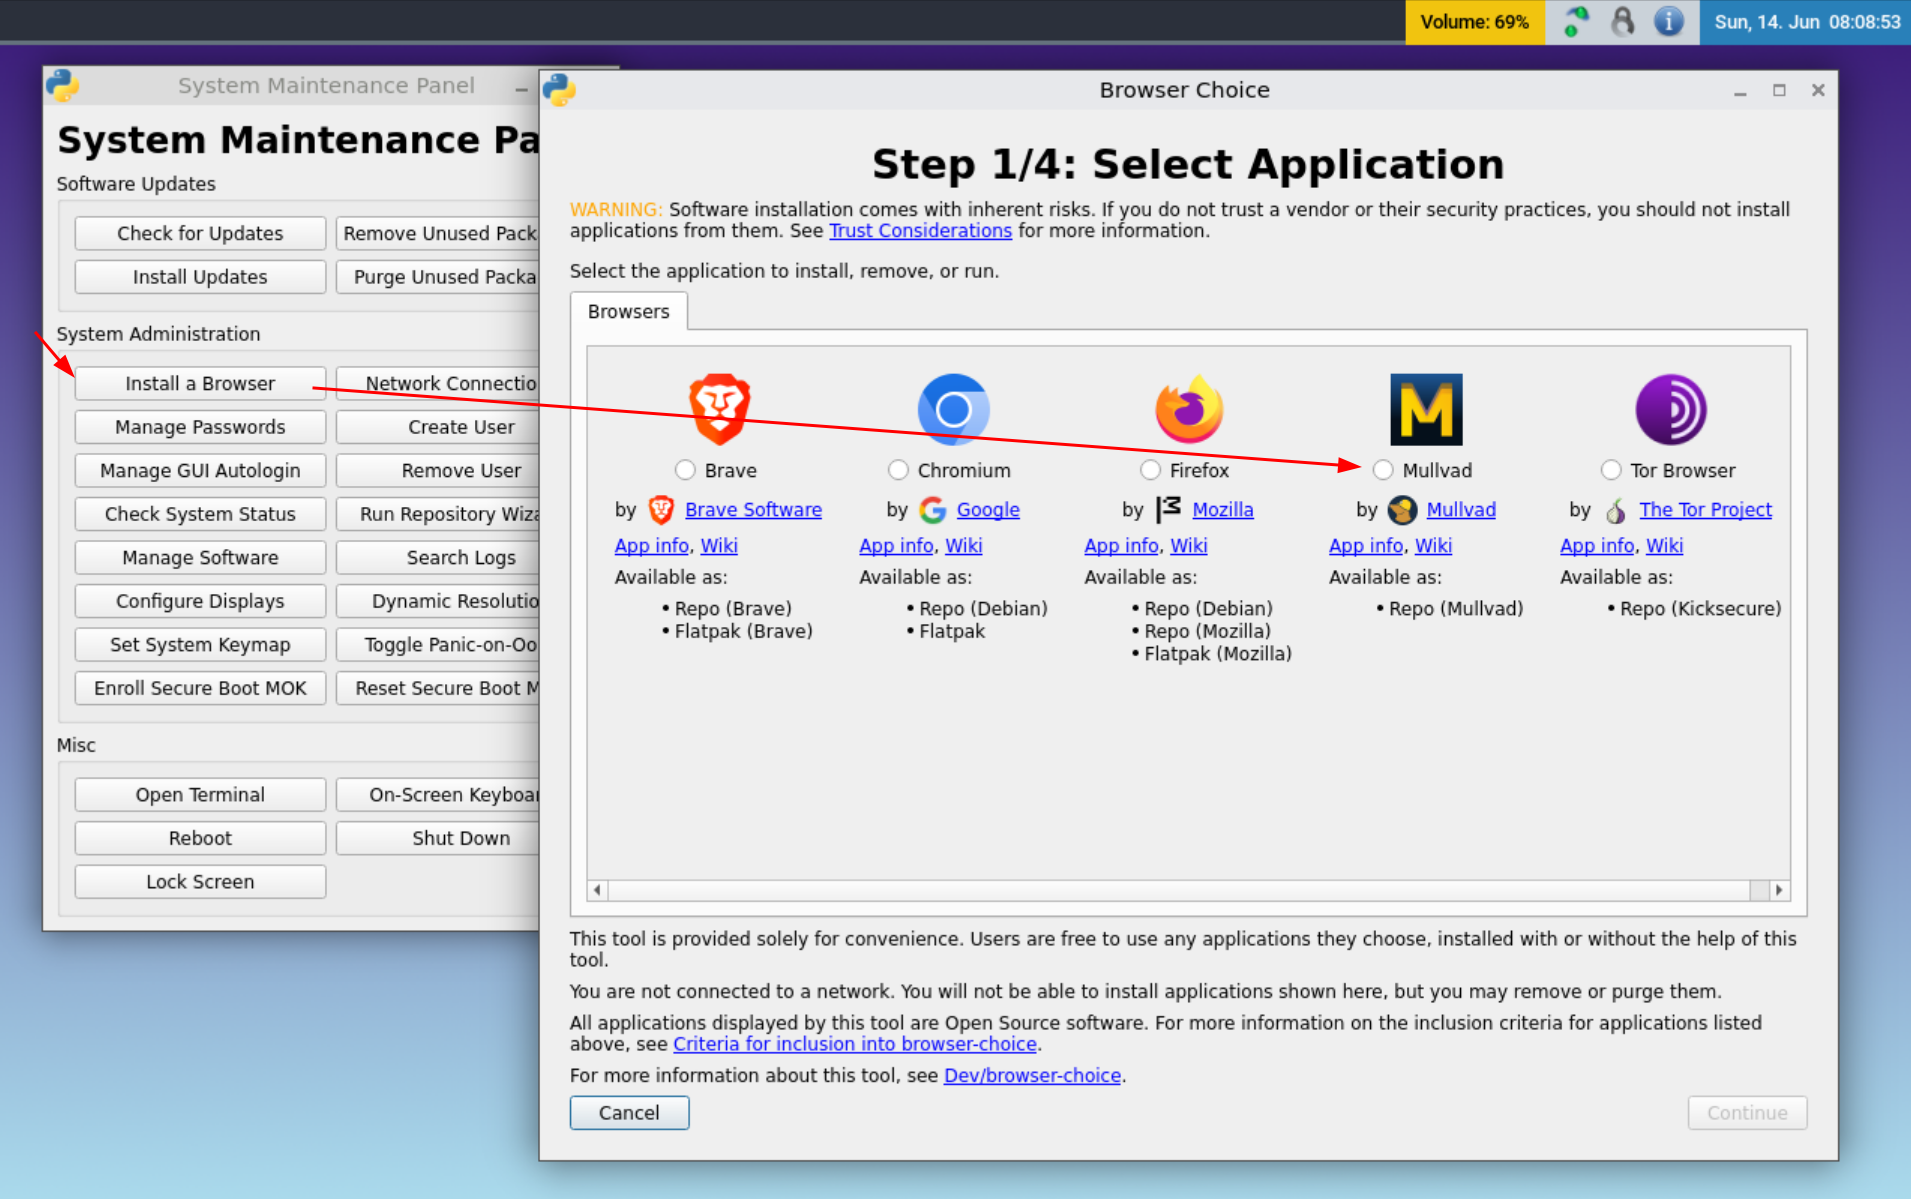
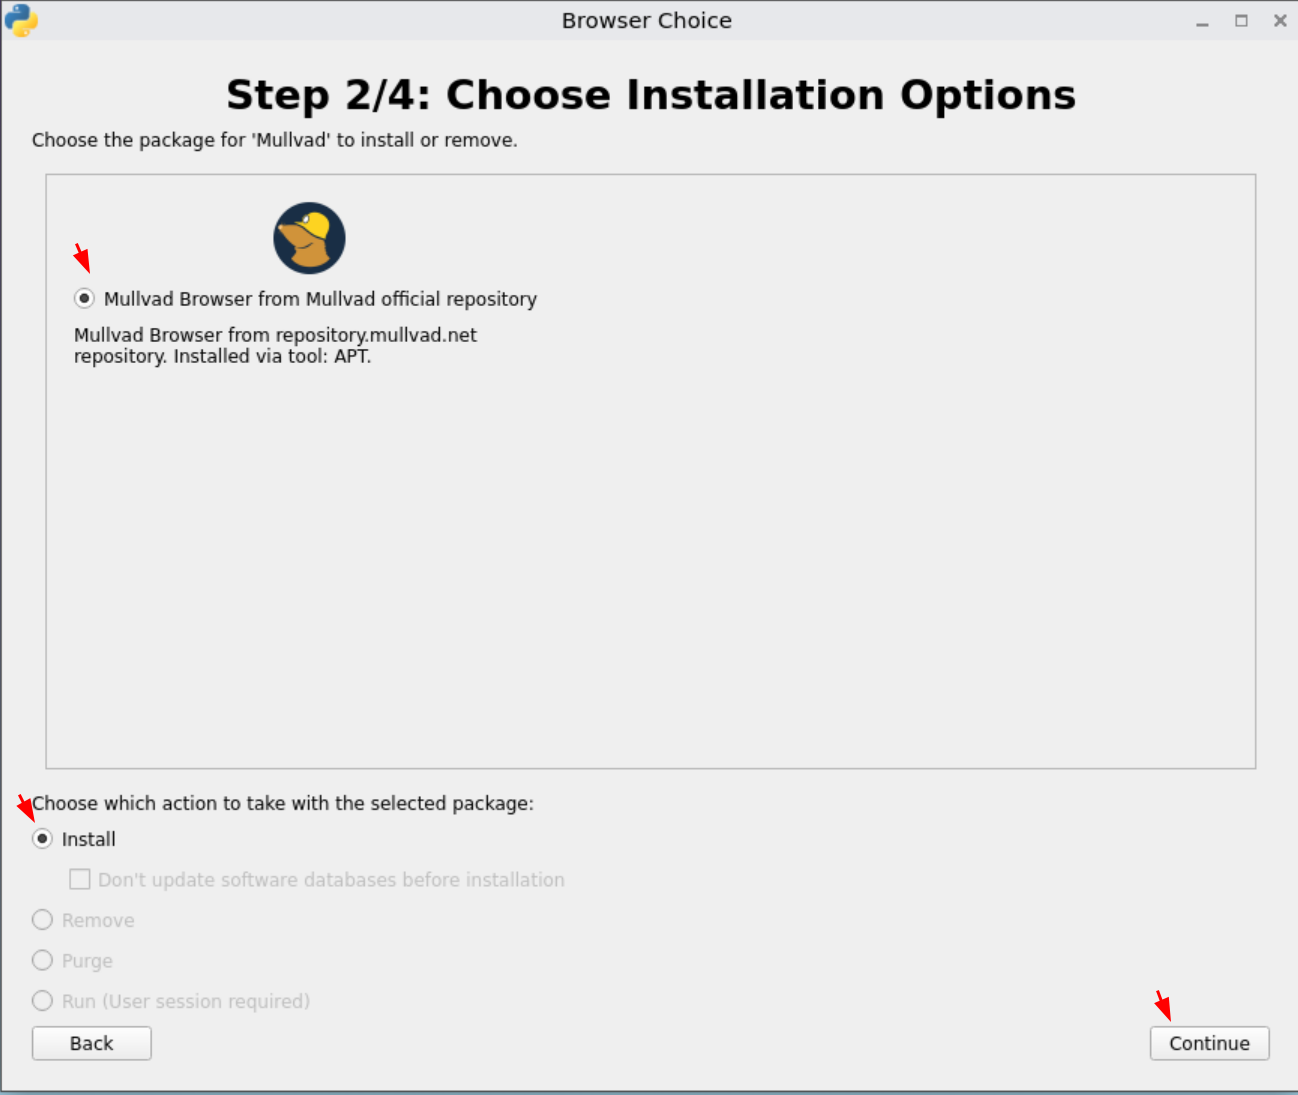
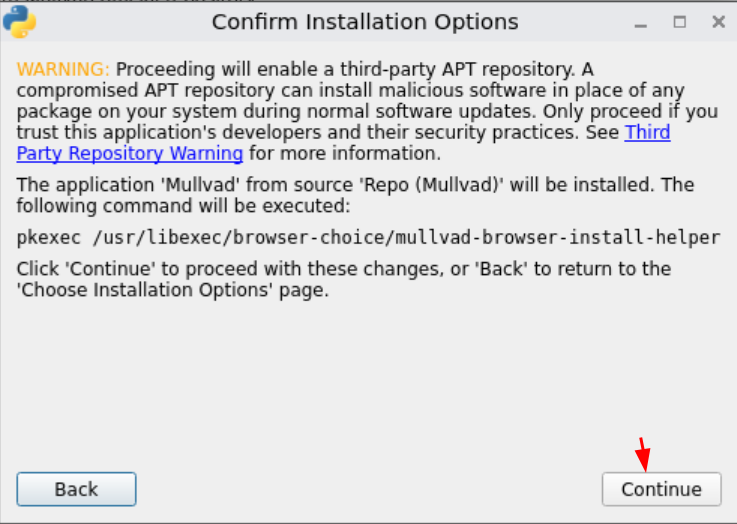
Let's start by installing Mullvad browser for Private uses:
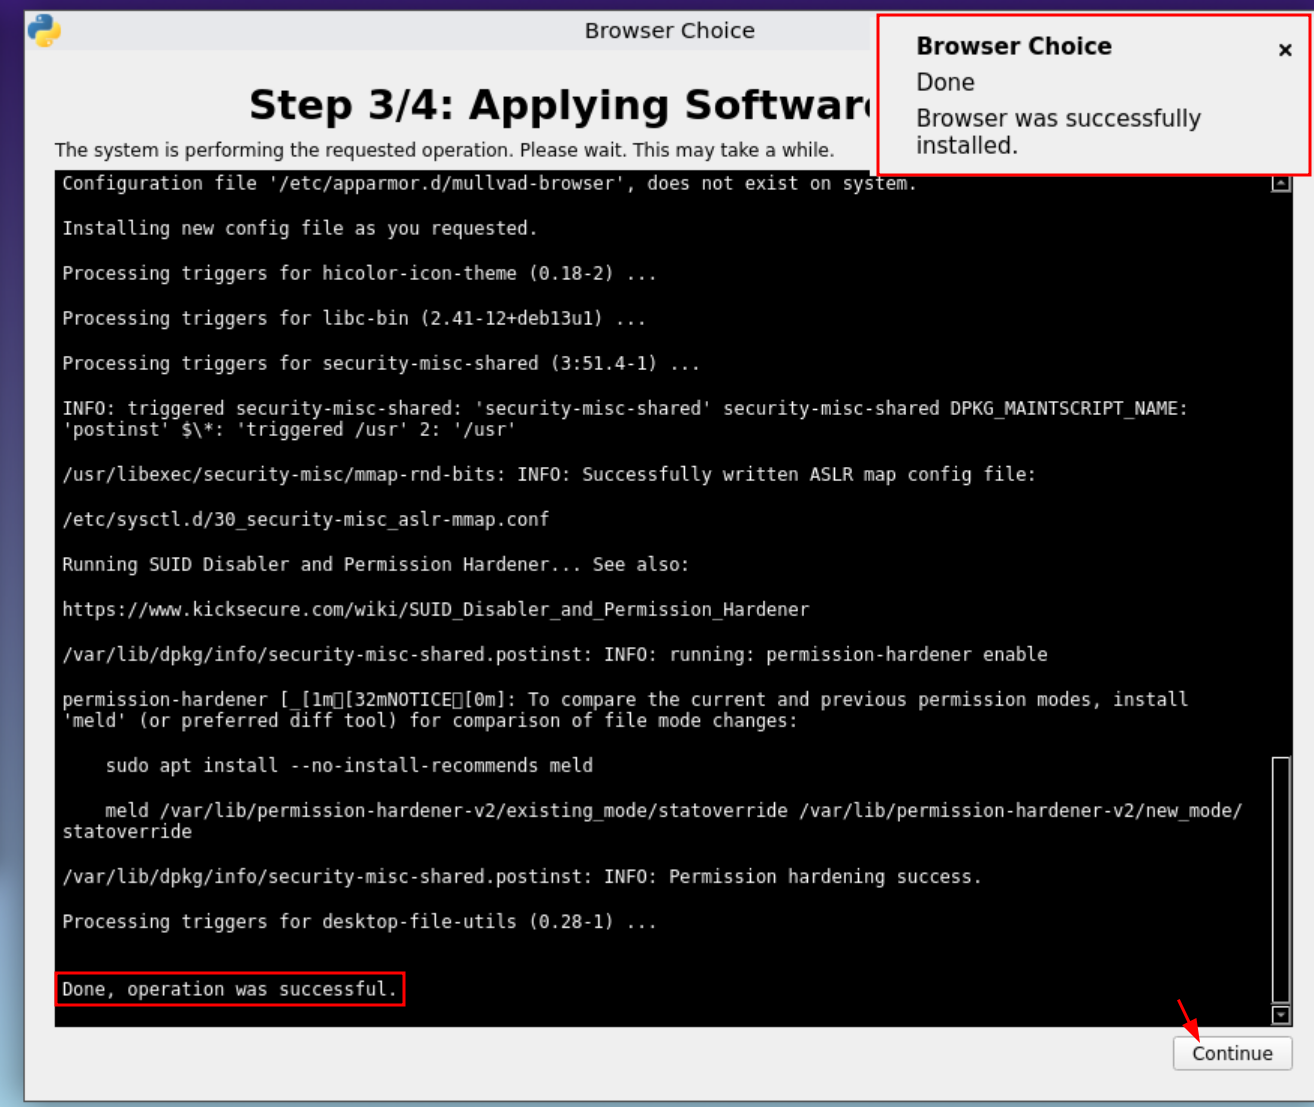
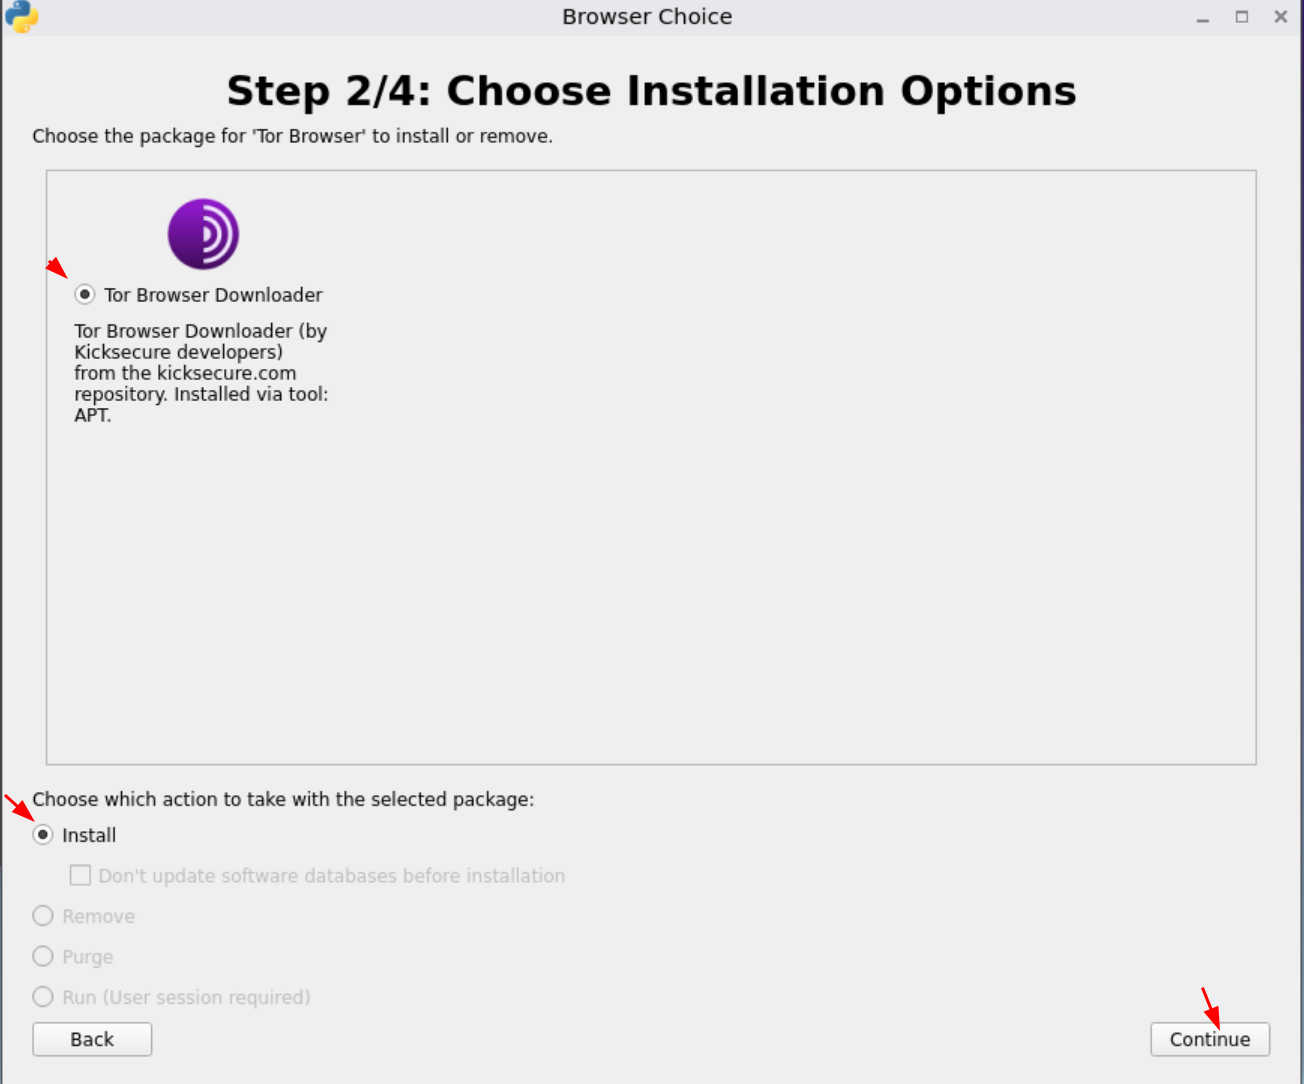
Then let's install the Tor browser for Anonymous Uses:
then let it finish then we can set the user password and disable autologin:
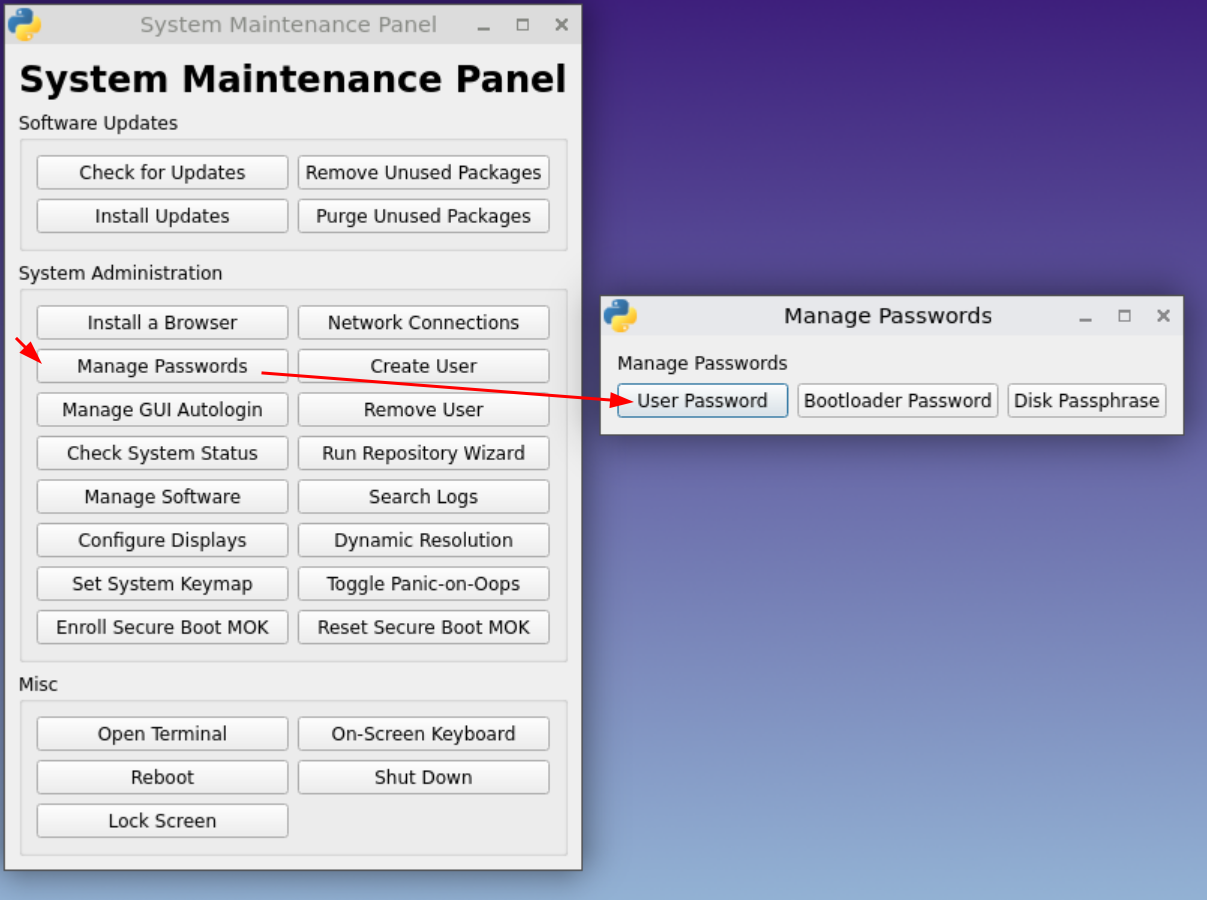
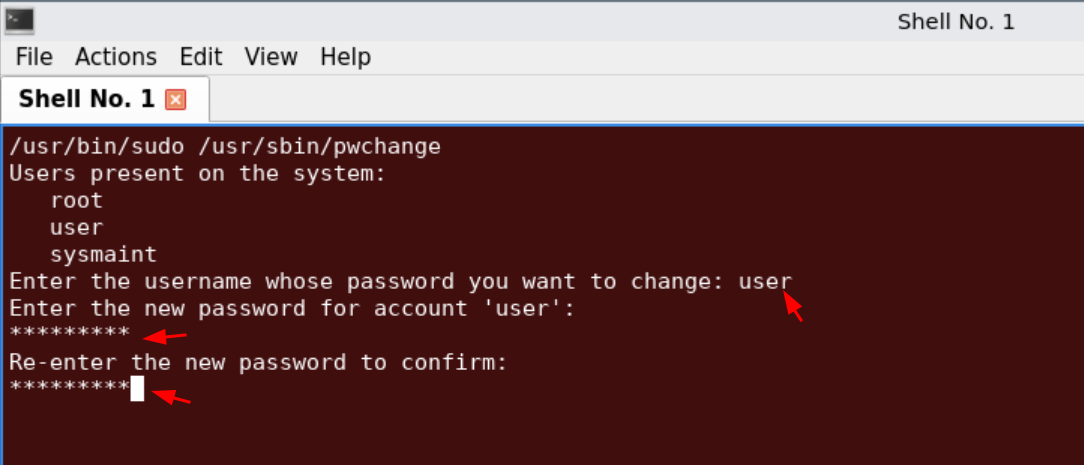
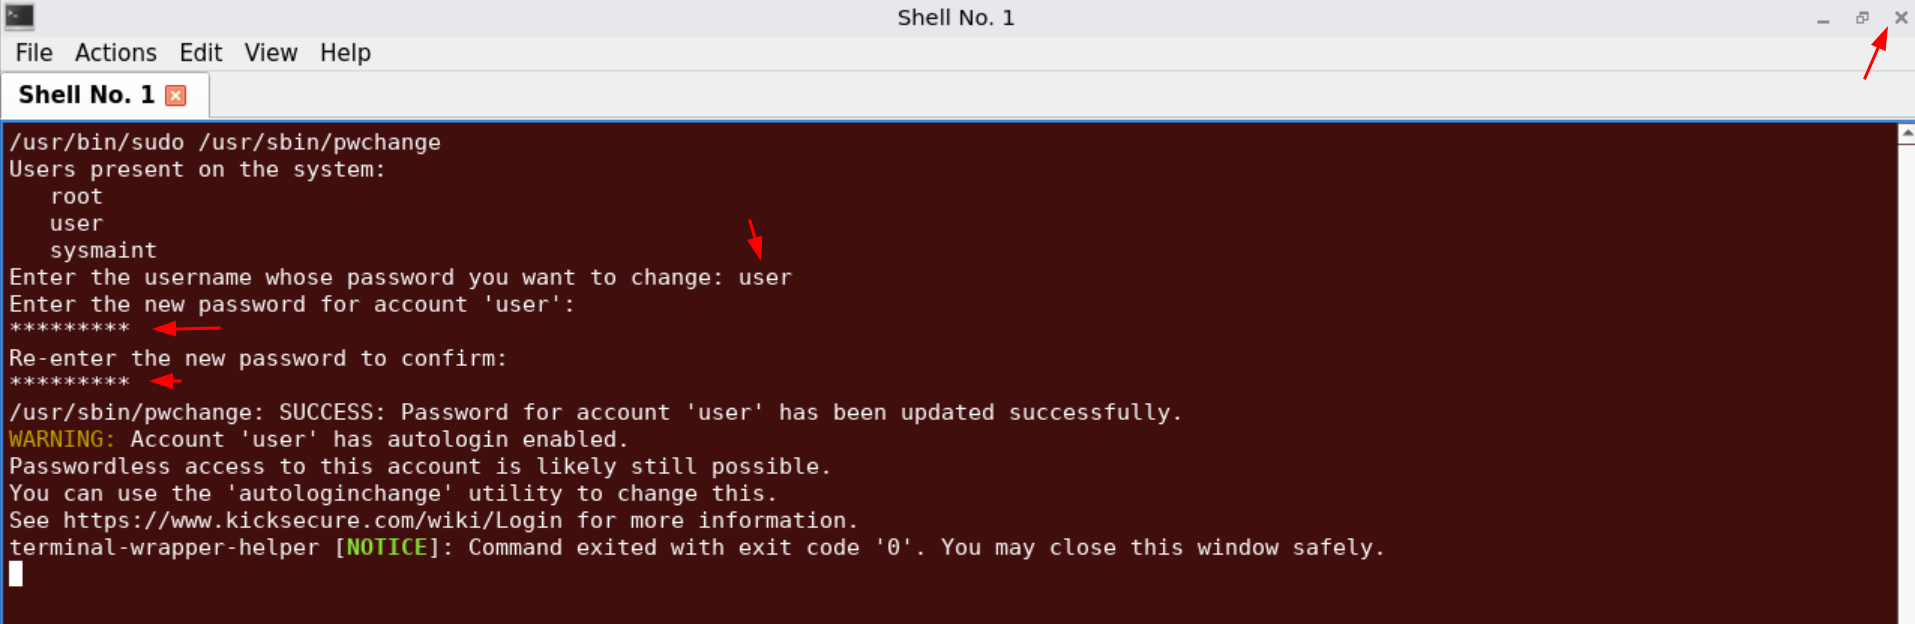
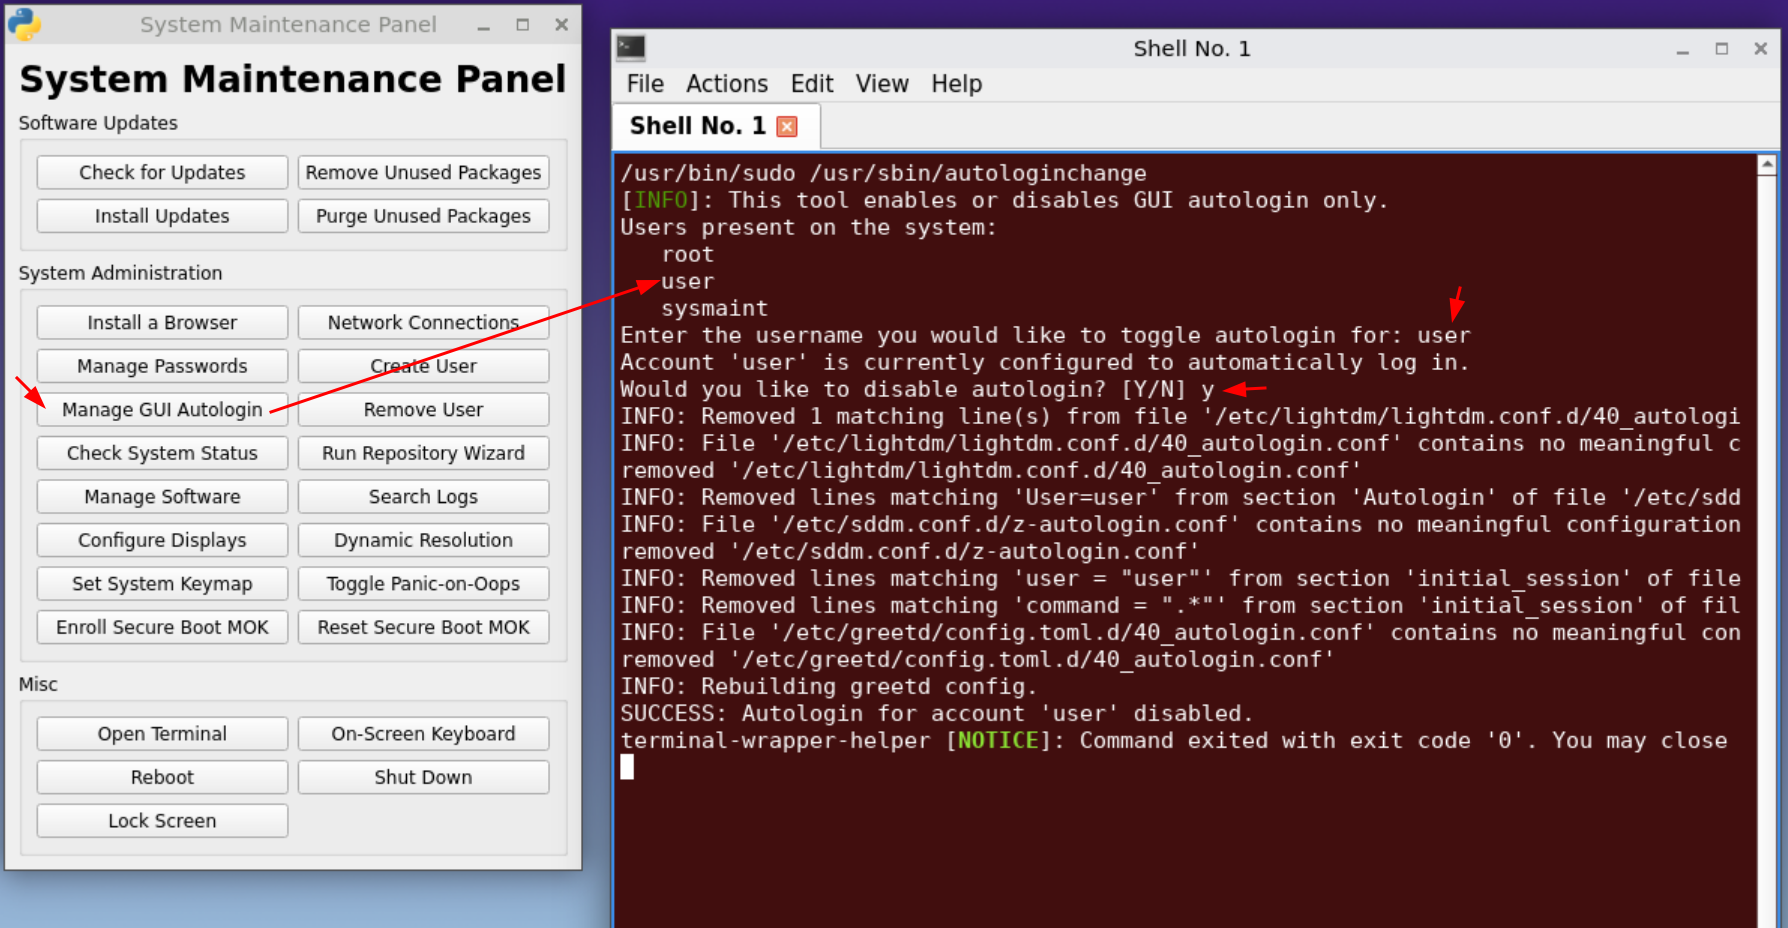
Setting up the user password and disabling Autologin
By default, the user has no password and has autologin enabled, so let's set a user password (to be able to lock the screen with Win+L) and disabling autologin to ensure that you need to type a password to log in to your session:
then once done we can reboot to enable the unrestricted admin mode:
Making sure that the main user has sudo rights
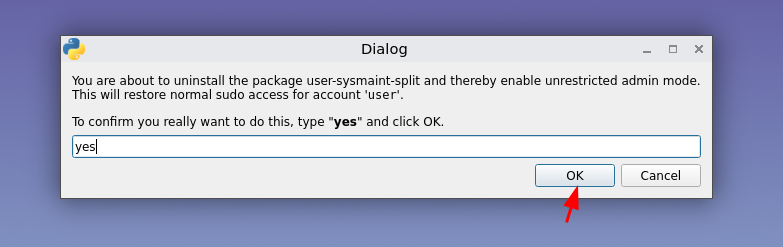
Kicksecure by default separates the regular user and the admin user on the boot option level, however for the Client-side Host OS I don't think we need that separation, so we select the "remove user-sysmaint-split" boot option, to enable the unrestricted admin mode:
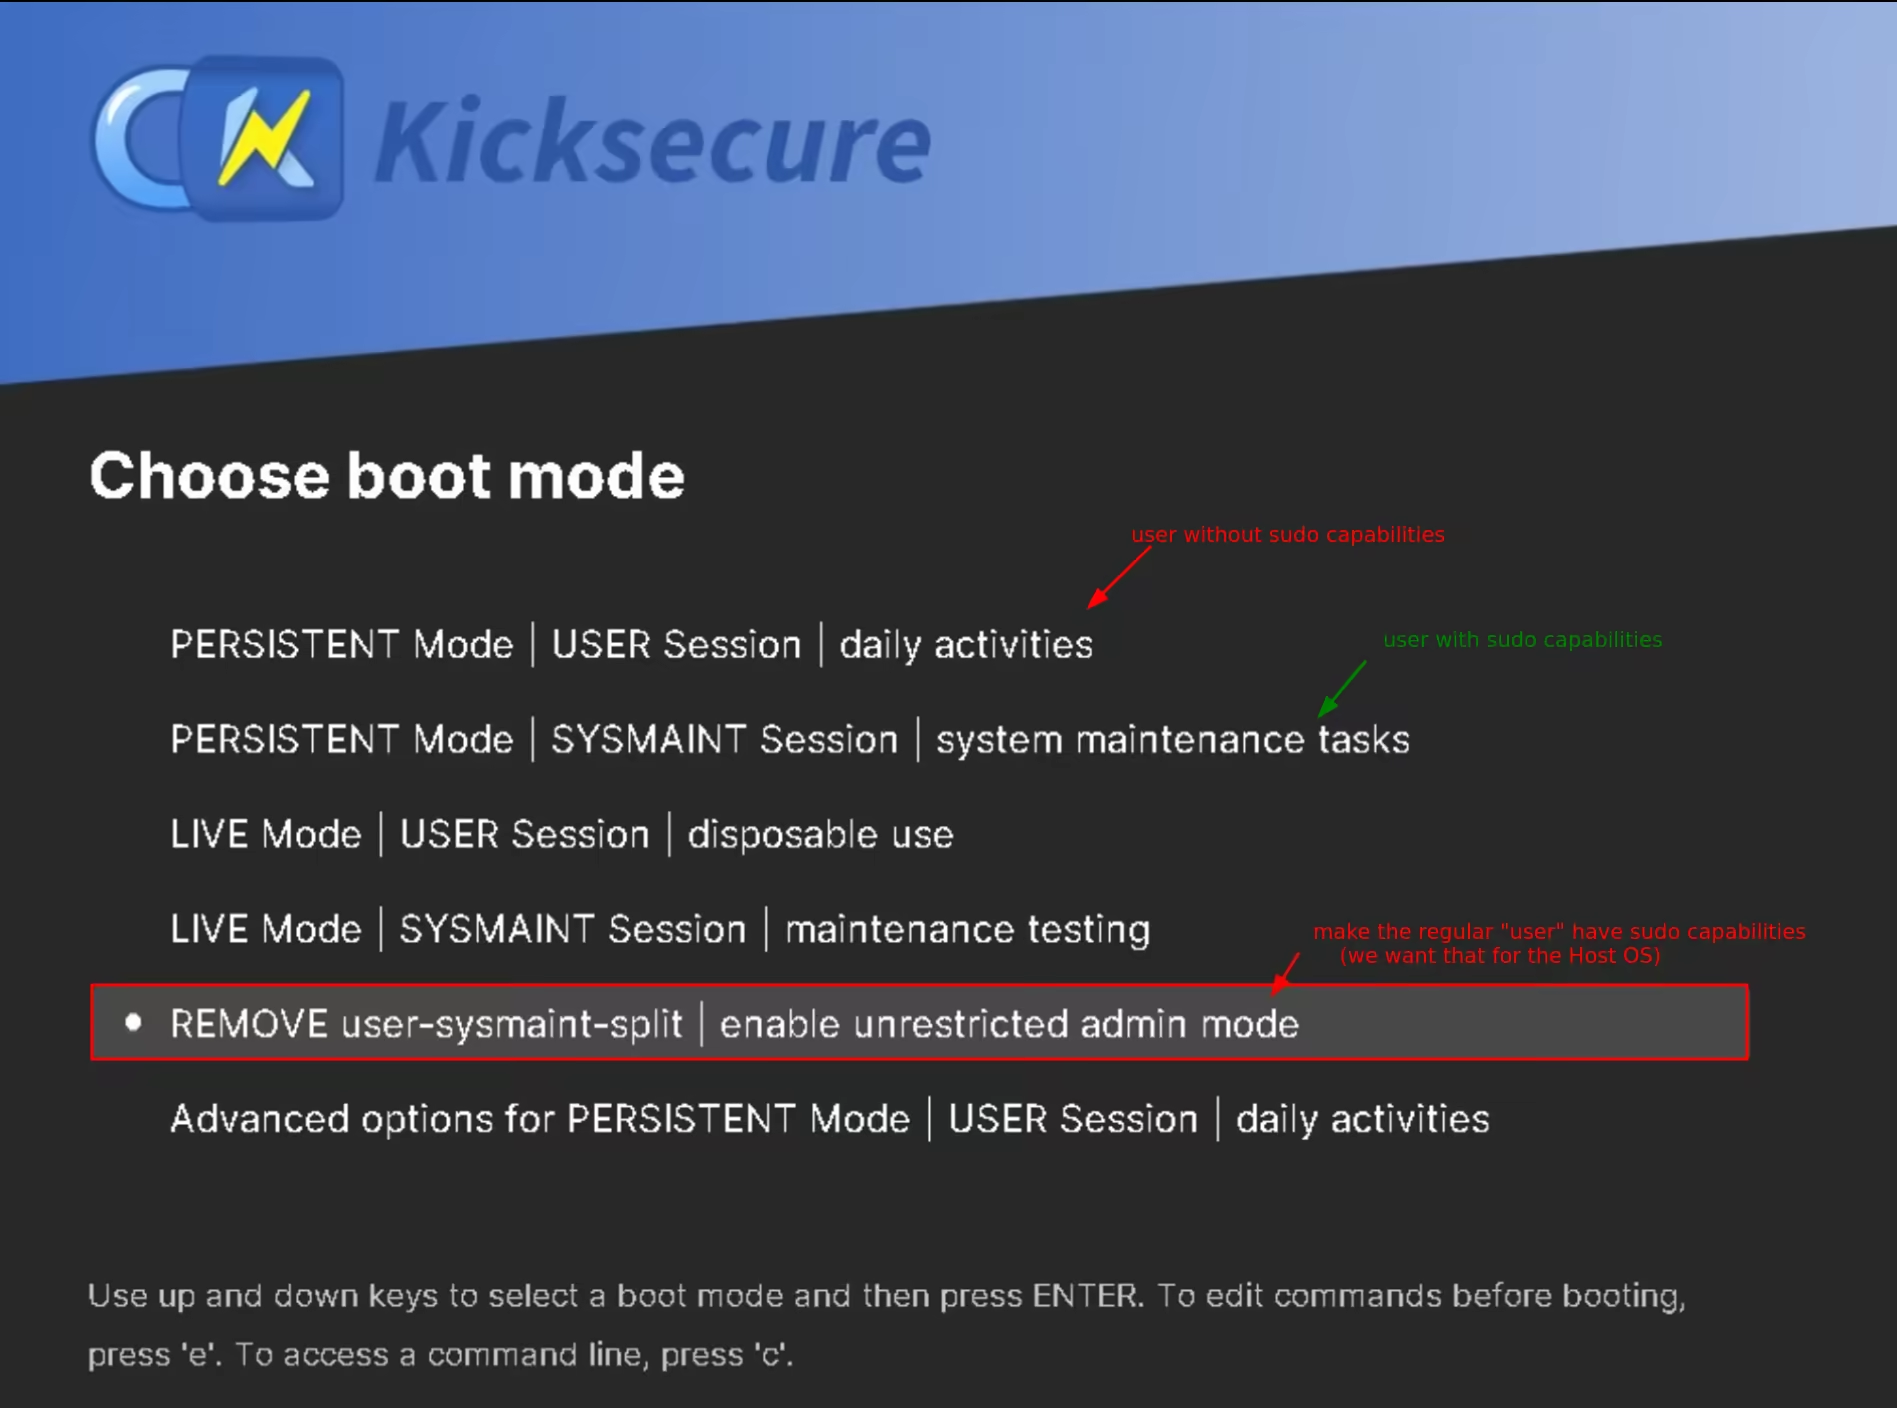
Once in that boot option, we type "yes" to confirm that we want the change:
Here we close the terminal window once it confirms us that we can close the window:
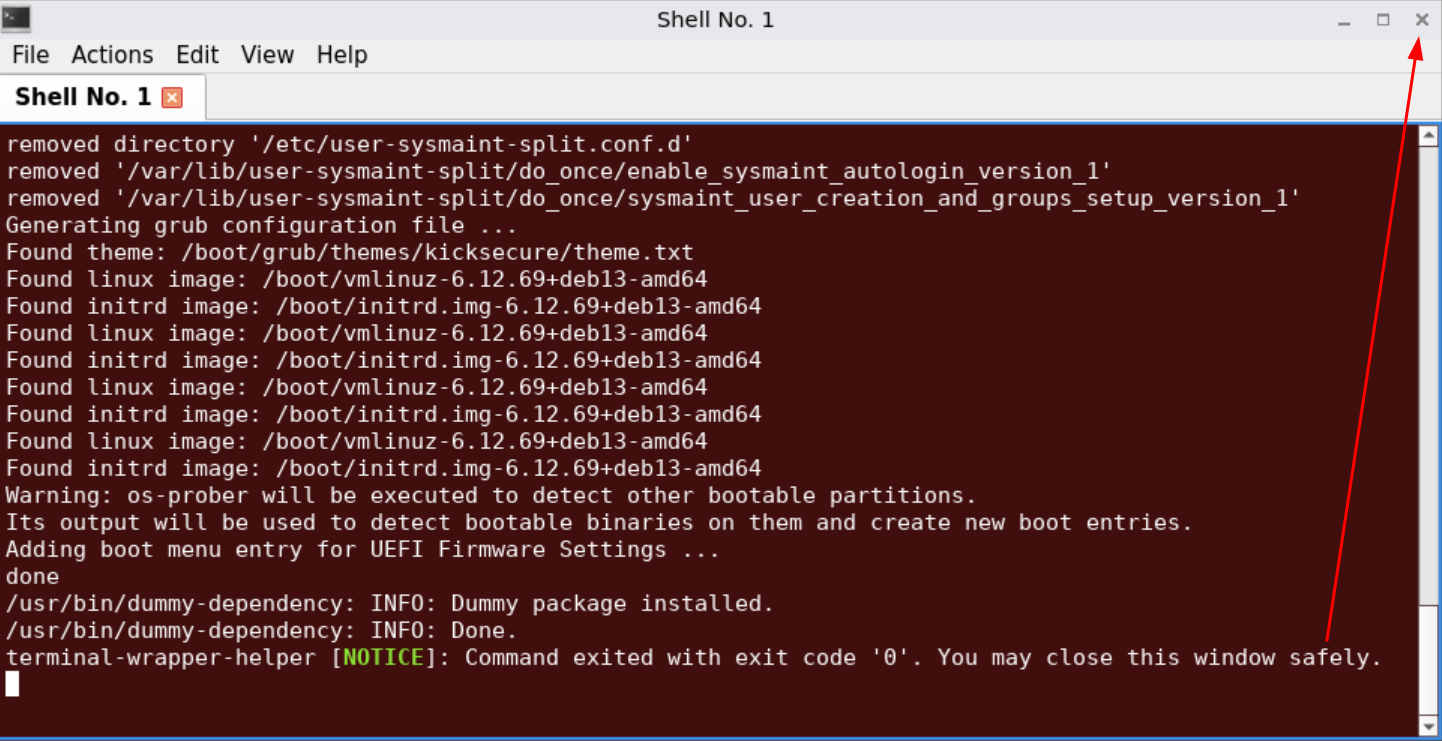
Then it'll automatically reboot and enter the default user session, except that this time the user will have sudo rights by default.
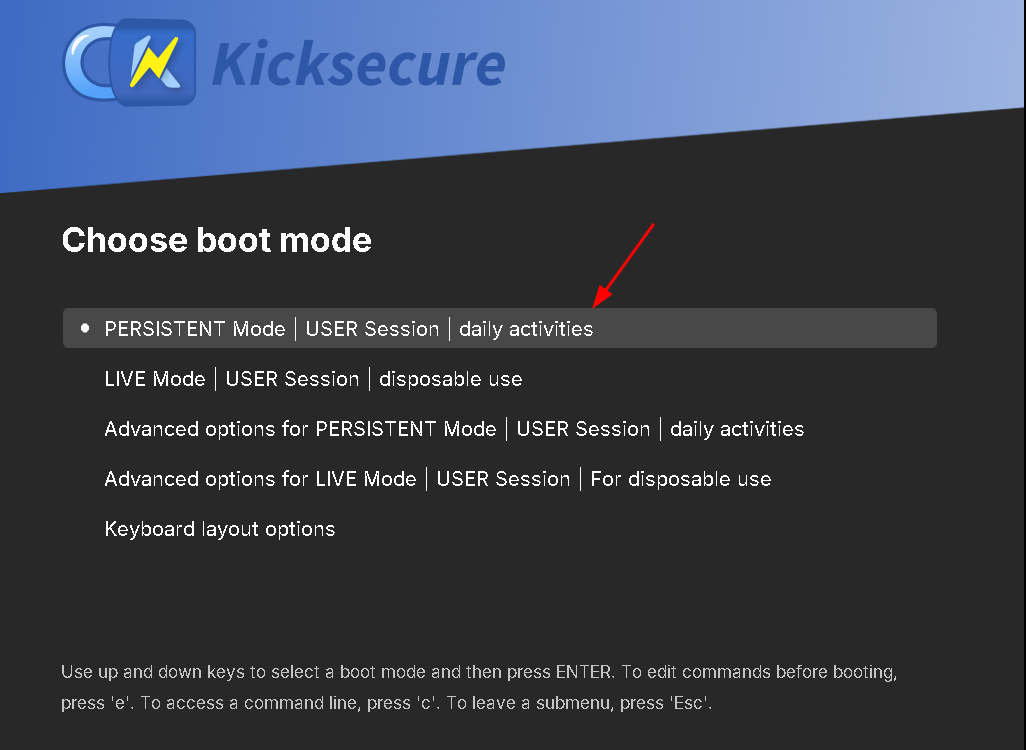
Once back in the Kicksecure Host OS, we see that after putting the passphrase to decrypt the system drive we are greeted with the user login prompt:


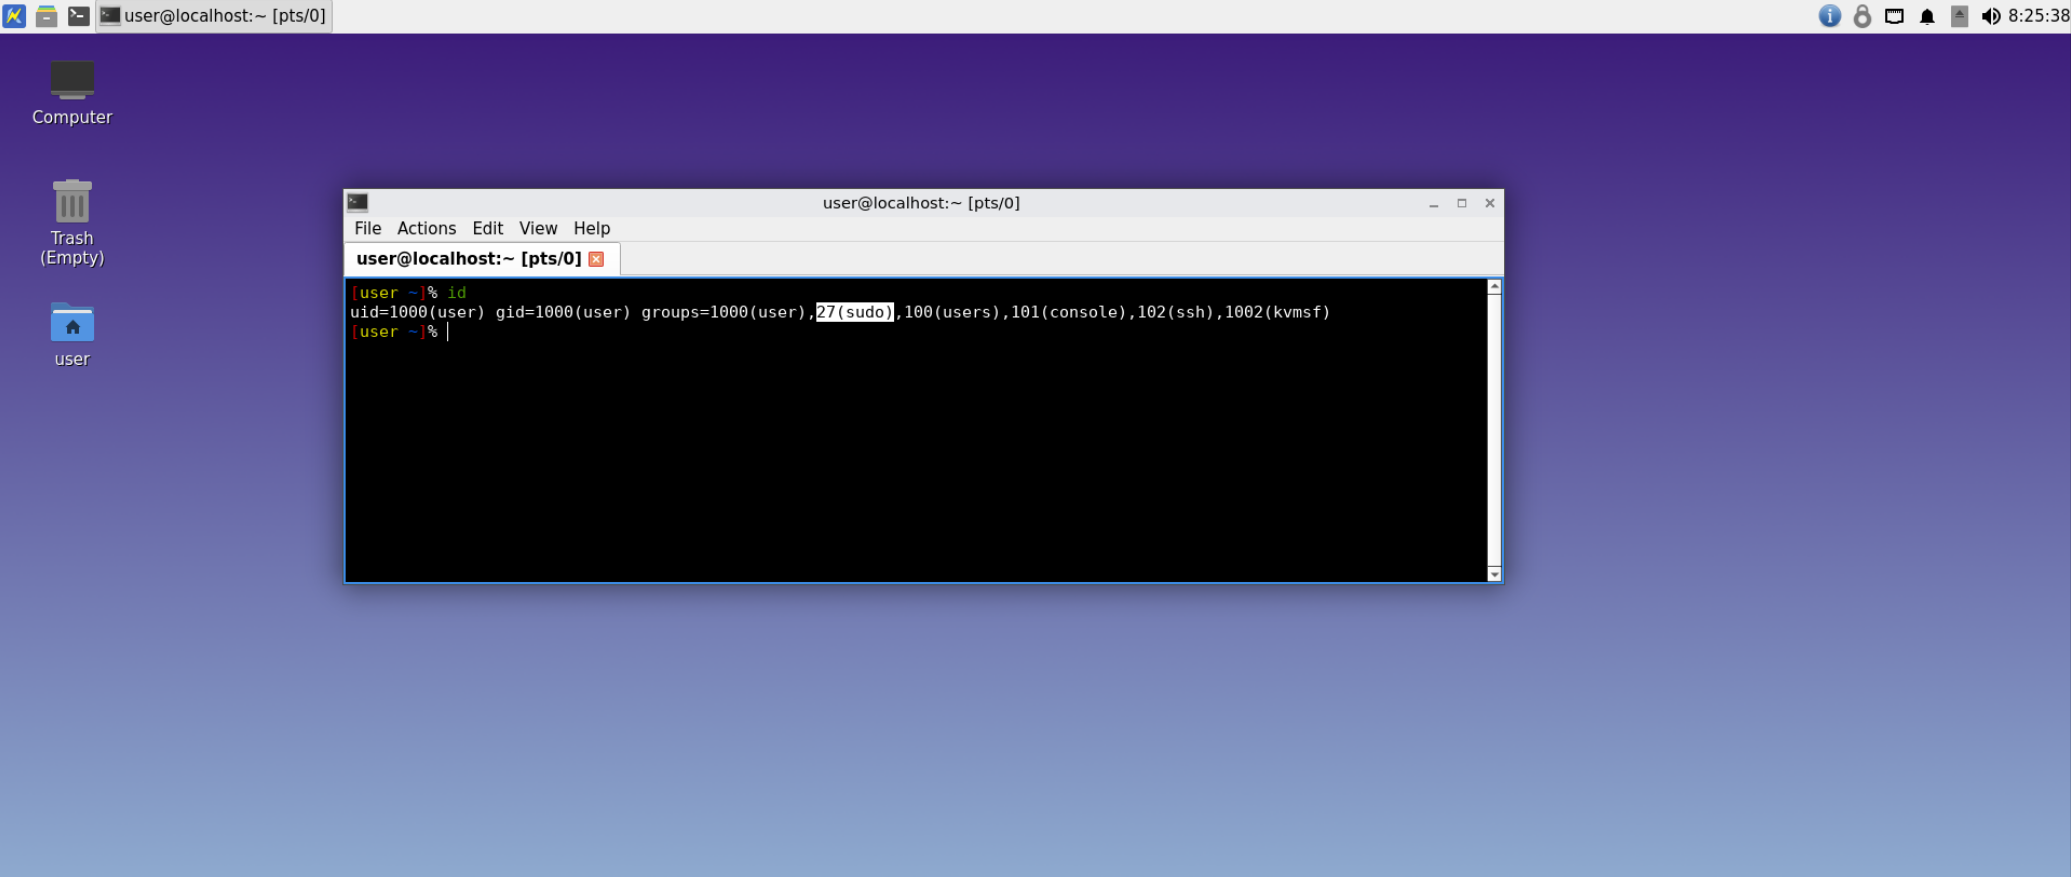
And now you're logged into a persistent session with sudo rights:
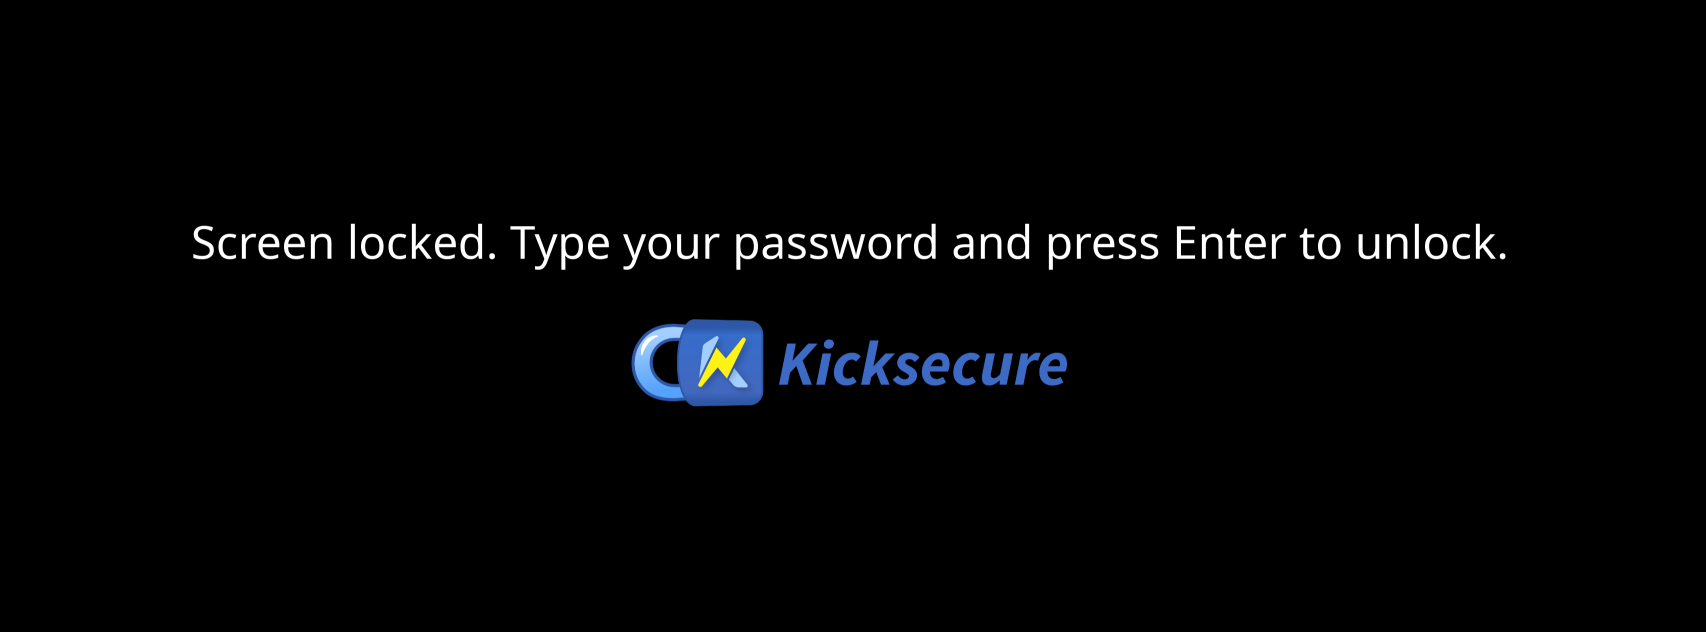
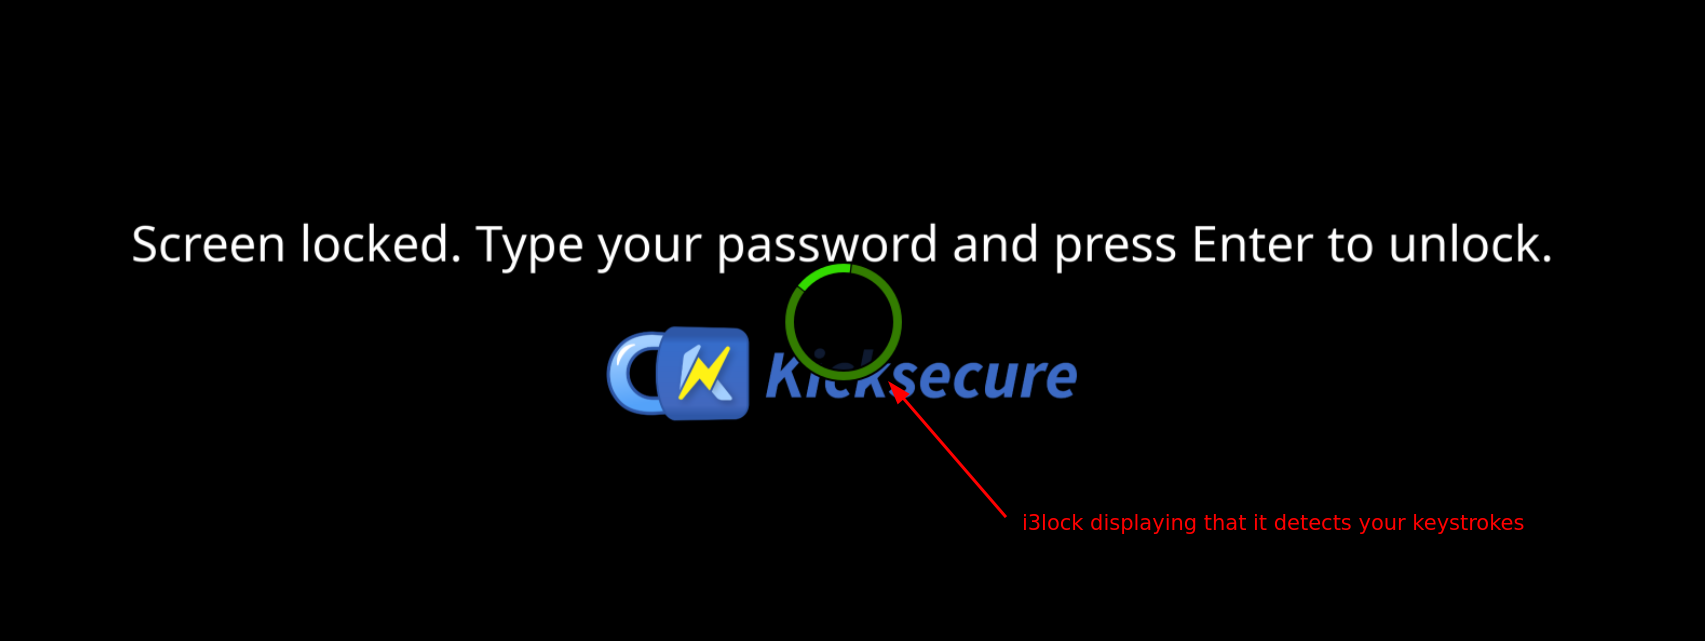
And thanks to the setup we did earlier, when you're not next to your computer you can lock it by doing WIN+L, it will require typing a password to log back in:
Finishing the Tor Browser install (in persistent session)
Then we can finish installing Tor Browser in the regular persistent session: (if you live in a country that allows tor use, otherwise install a VPN before doing the following):


 Suggest changes
 Nihilist
 2026-06-14
 Donate XMR to the author:
8C1MNeB4KEHGApg6sPxFPn3NWERD3mPv7AjC8mCm1CJCXjoKnf36SYBdZ6ywCMdZRC4cxu7Uax3tufDqMXS2mLvHNCJzQZS